I've posted a few times about my tank piggy backing on someone else's thread, and thought that maybe it would be better to post a journal of this tank.
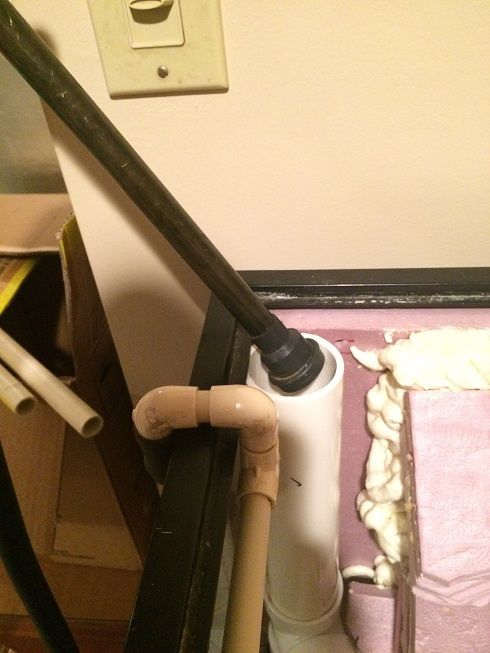
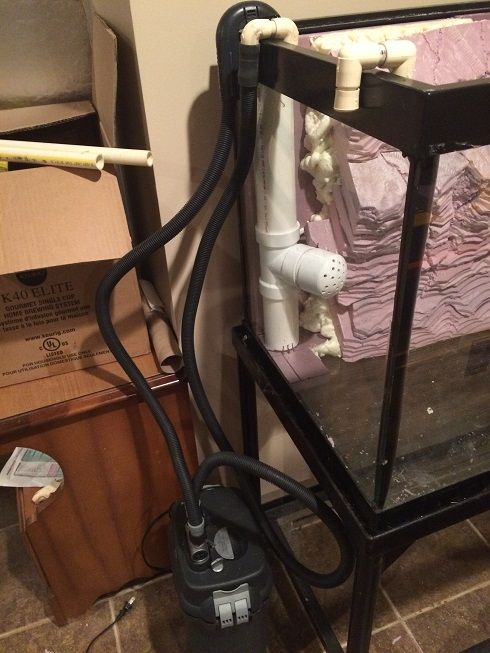
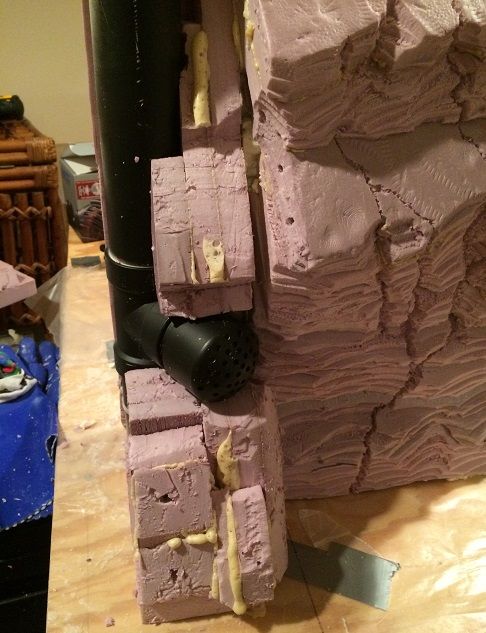
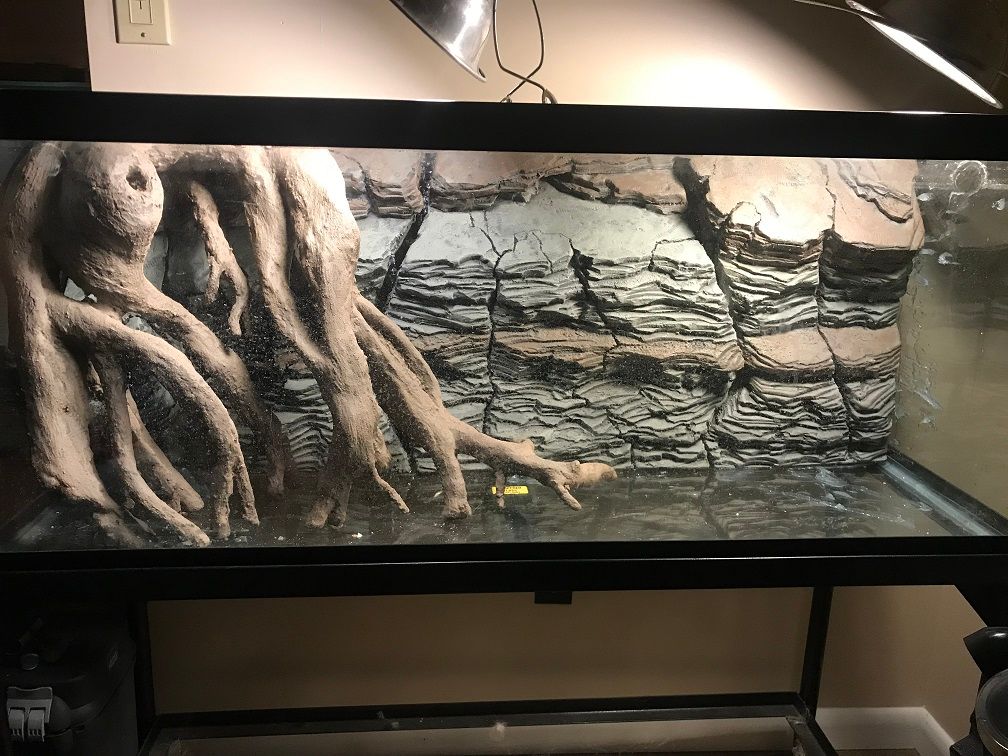
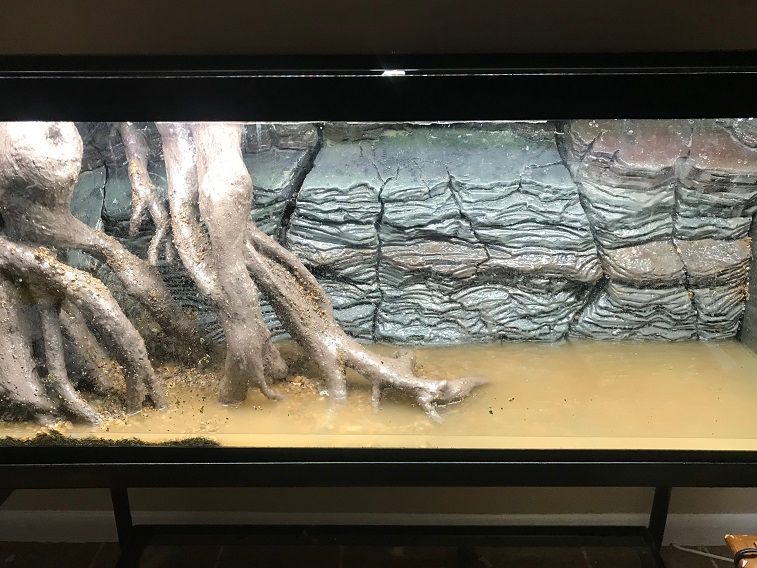
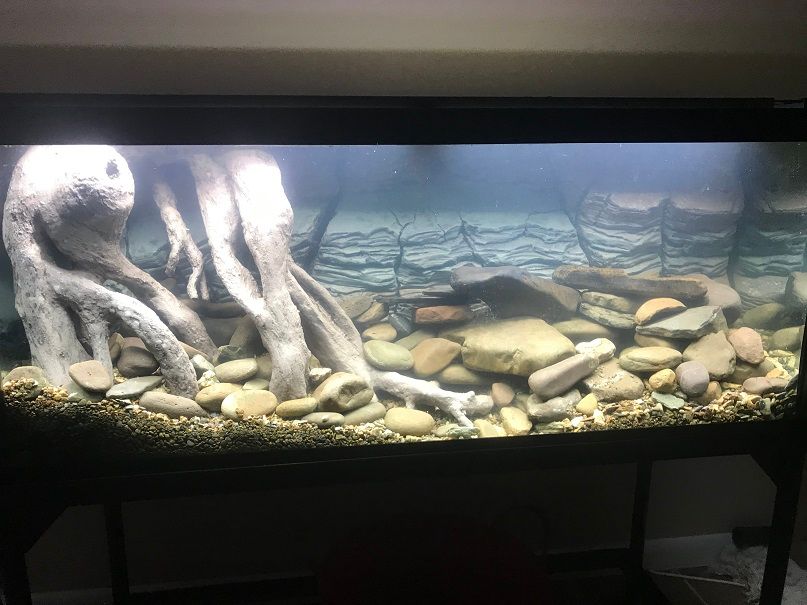
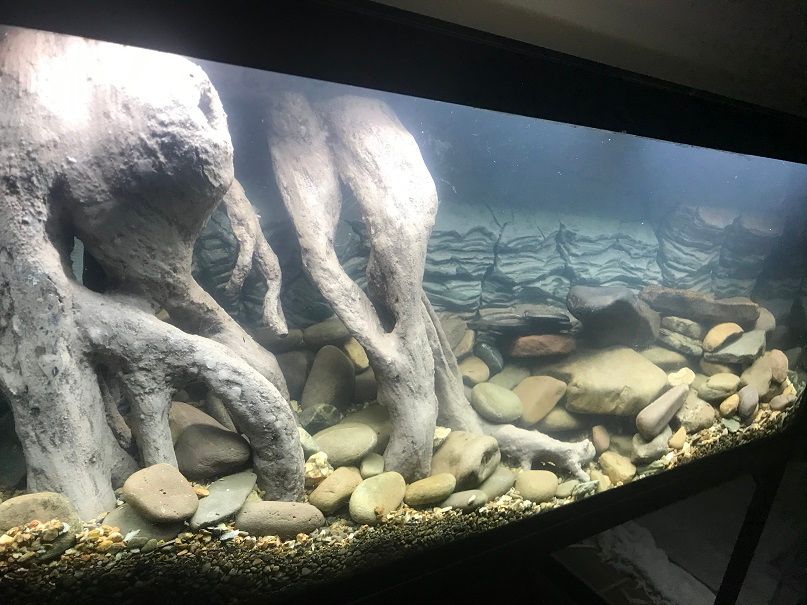
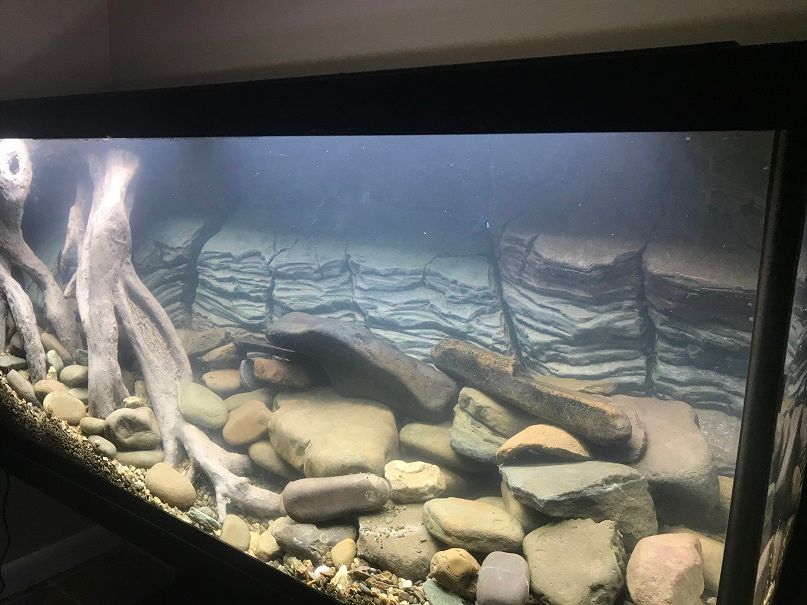
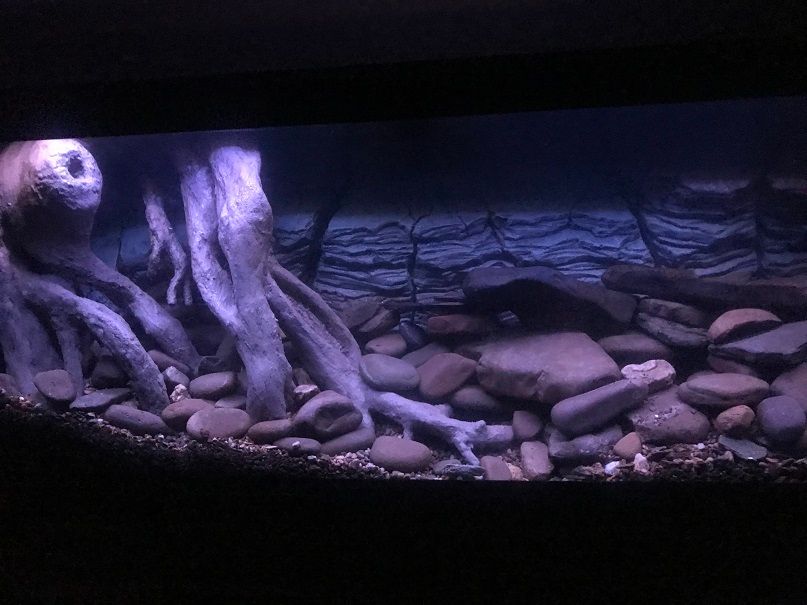
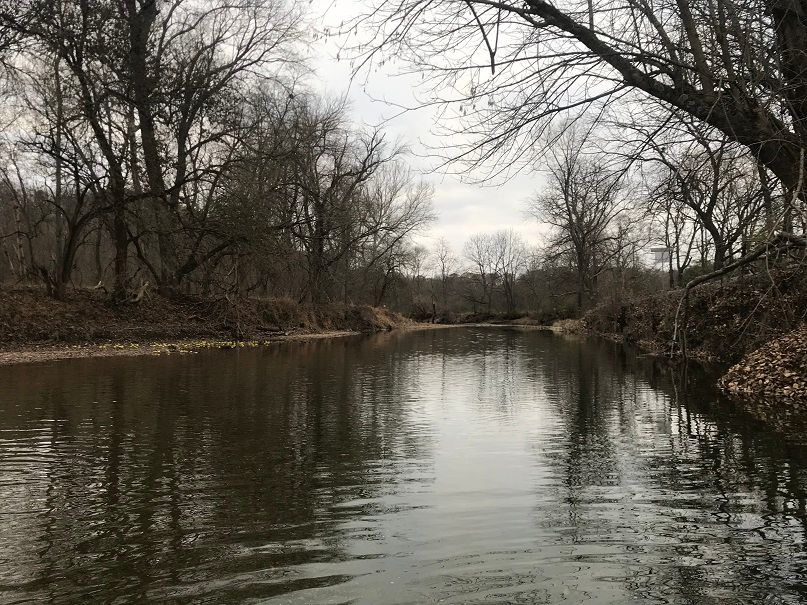
Concept: This tank represents a simulated river undercut bank using faux roots against a faux DIY rock wall made of styrofoam hobby boards, spray foam, and other inert supplies. The fish and plants will be native U.S. species local to where I live, and will consist of smaller fish, not larger predatory fish. I'll discuss my plan for stocking later. The main plant species will be water stargrass (Heteranthera dubia). The purpose of the faux roots is to hide the large powerhead that will drive most of the tank current, that flows at the front of the tank from left to right, and forms and eddy. The rock wall is for decor, but also to hide my canister filter intake. The canister filter spray bar will also be a the right side of the tank, shooting water over the top of the roots to better simulate (sort of) unidirectional flow.
I've kept native fish before, and loved that tank. But, this is one of my dream tanks, to go all out and make it a nice feature in my home, not just a tank.
Tank, Stand and Equipment: I was given a 75g tank from a family member a few years ago, and bought a cheap iron stand off of Craigslist. He also gave me a Fluval 405 canister filter. Another buddy of mine welded additional support and feet to the stand. I purchased a Hydor Koralia 3G circulation and wave pump to generate current the tank to simulate stream flow. I recently purchased a Fluval Plant 3.0 full spectrum light.
Decor:
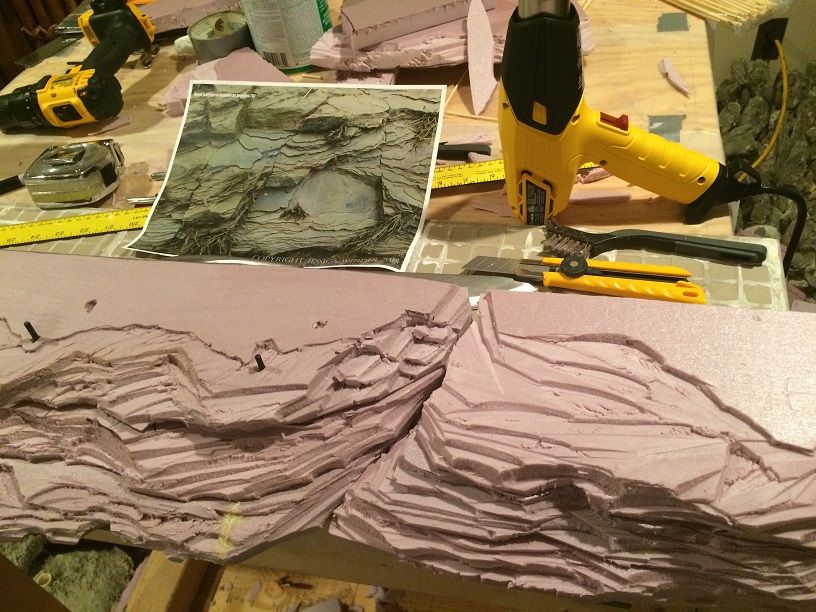
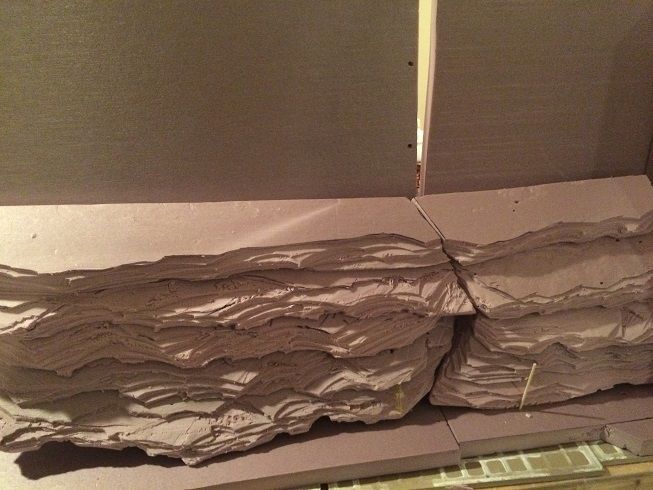
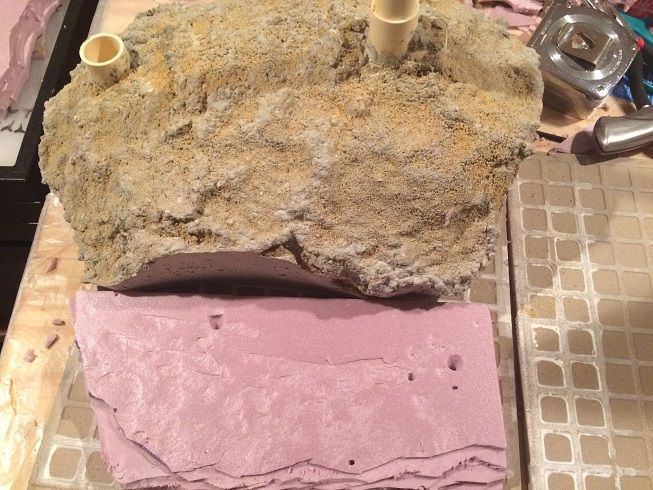
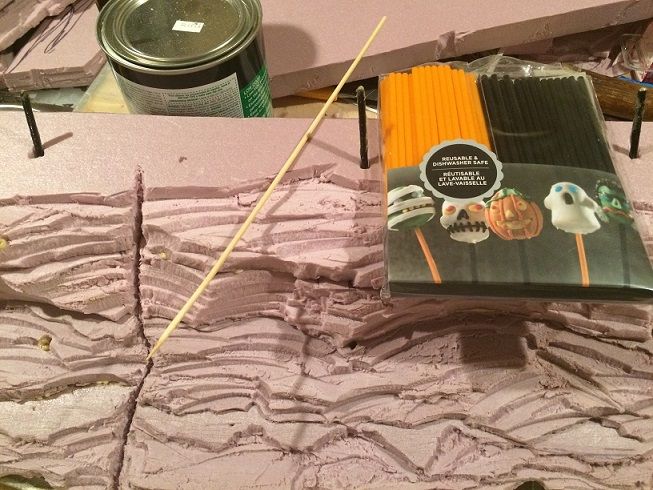
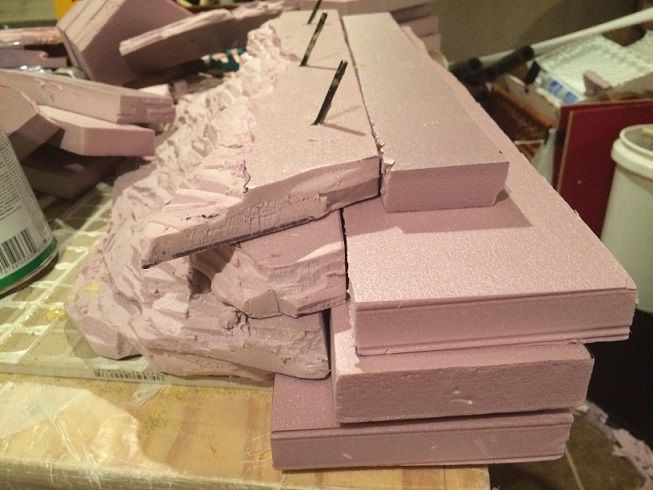
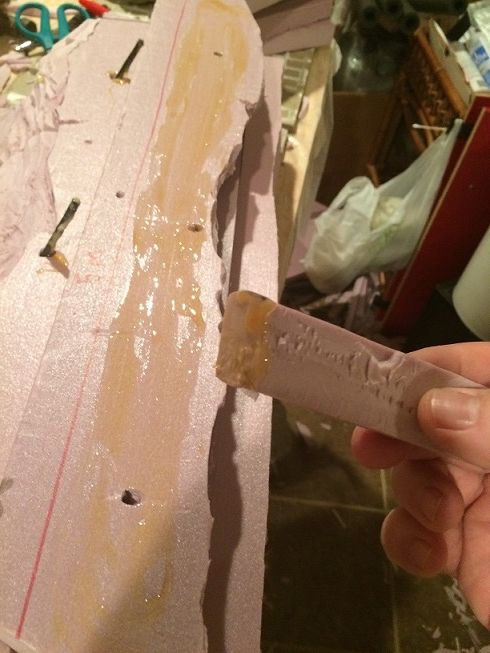
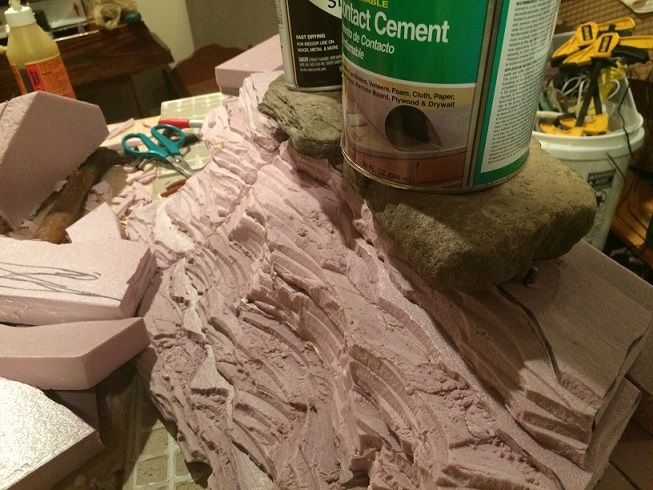
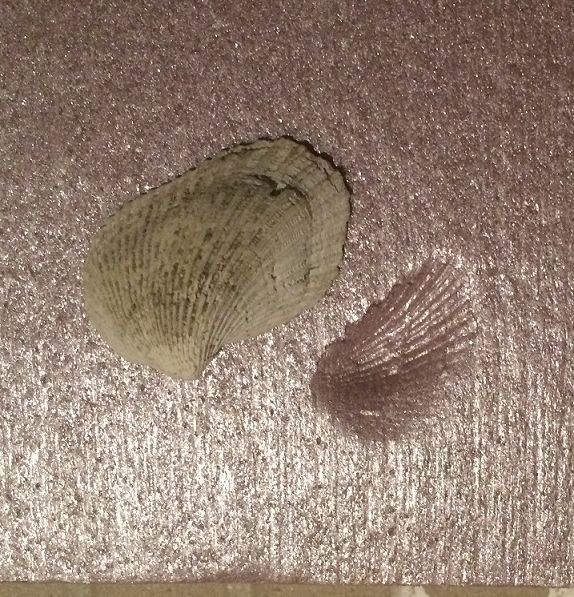
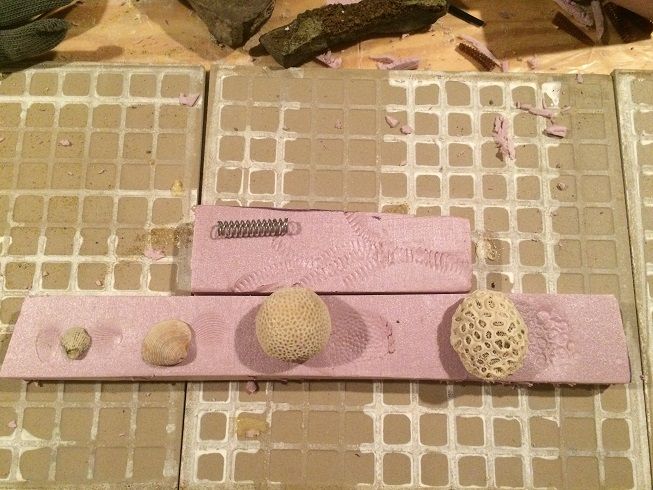
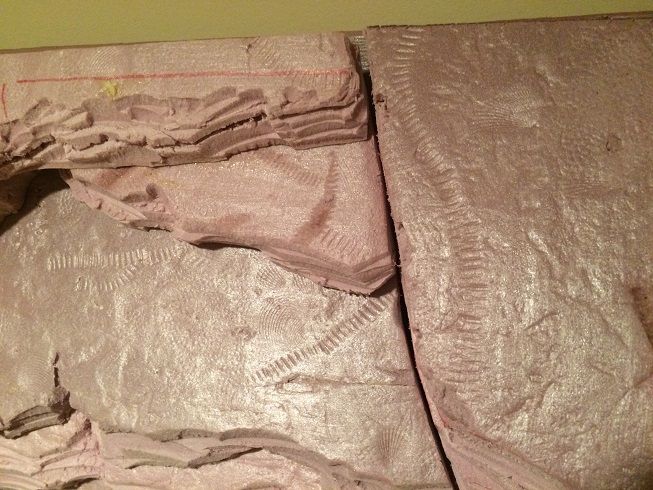
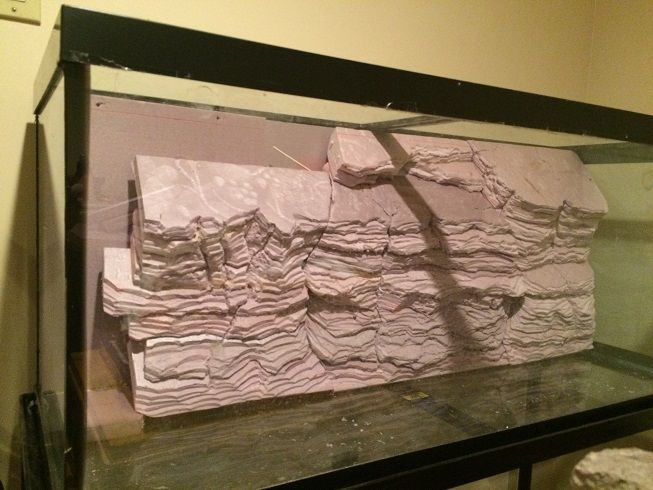
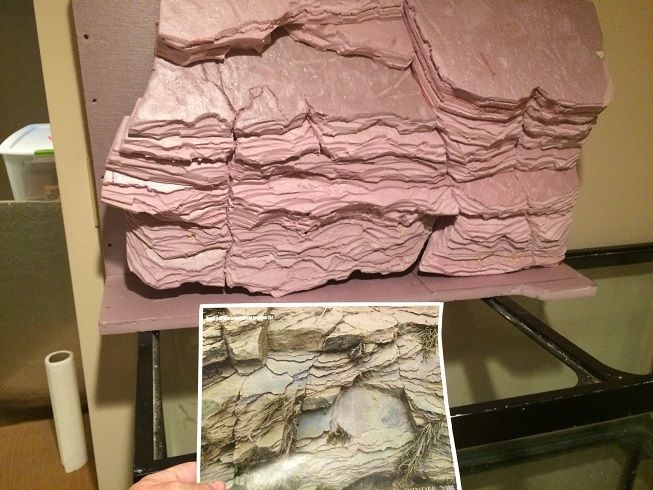
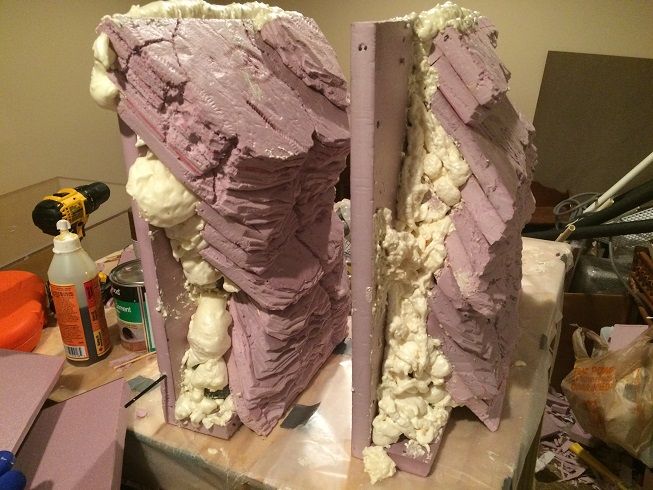
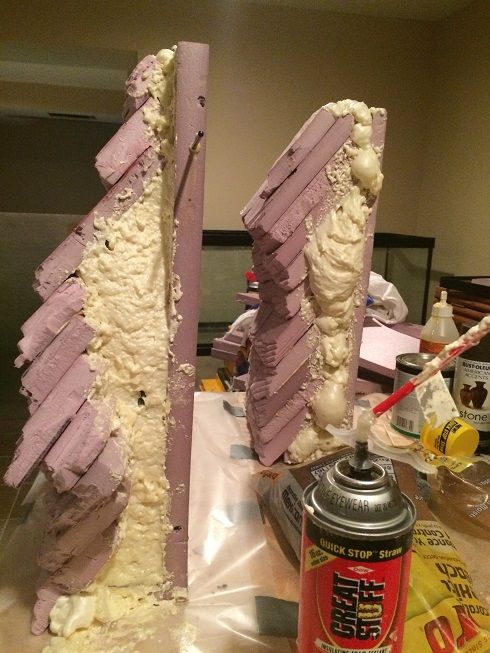
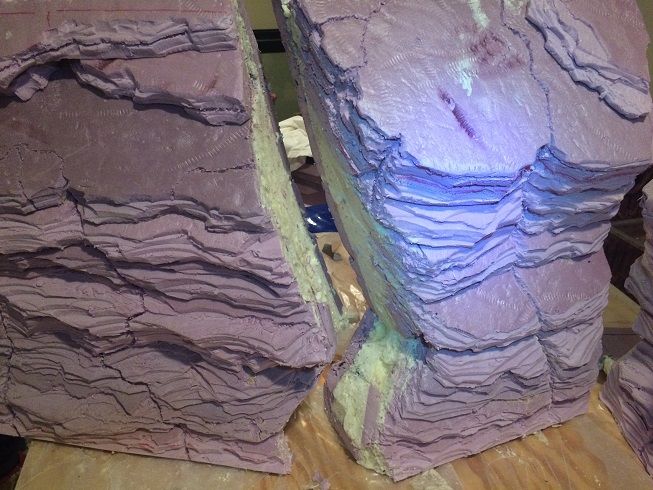
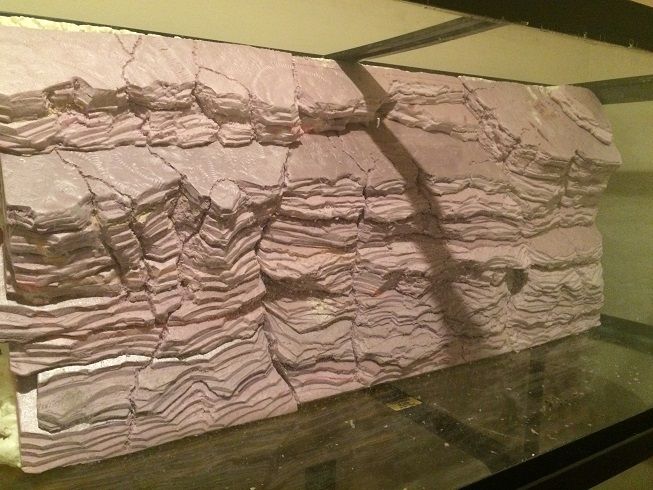
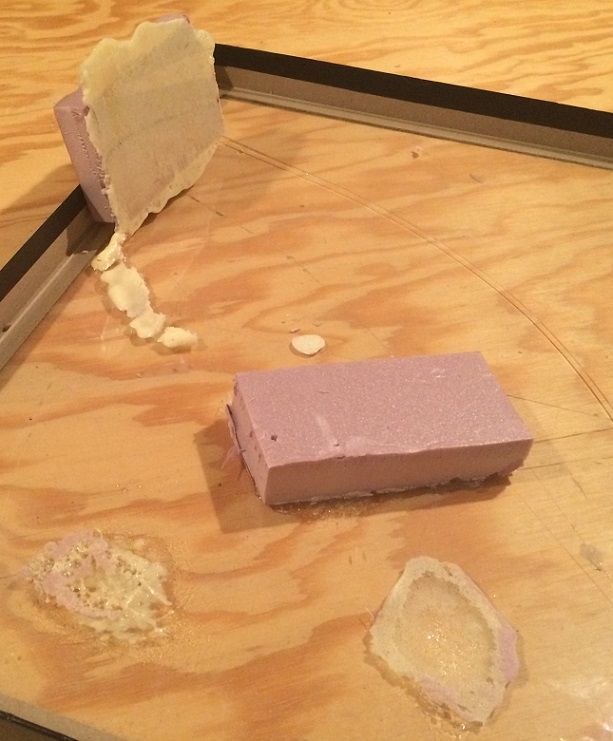
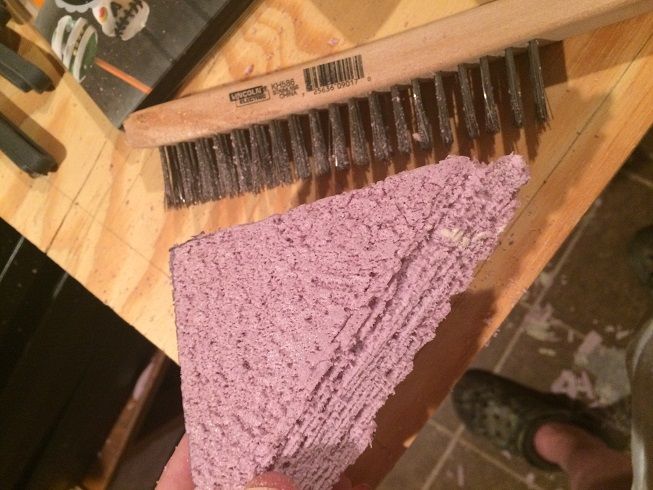
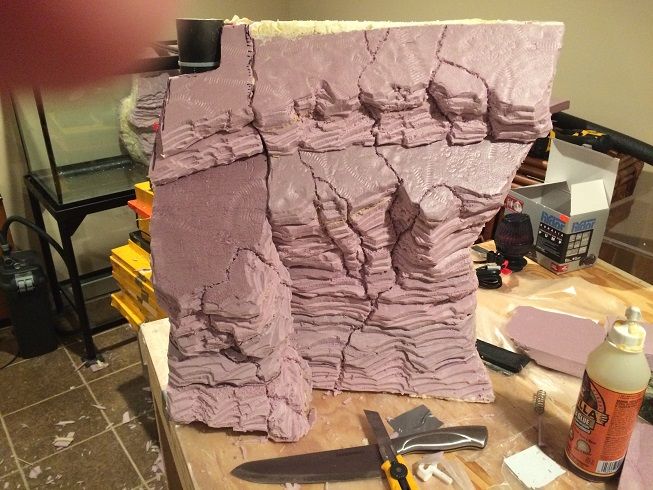
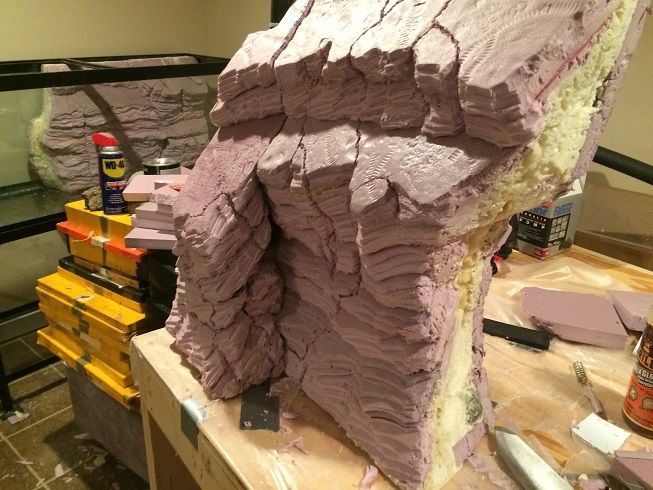
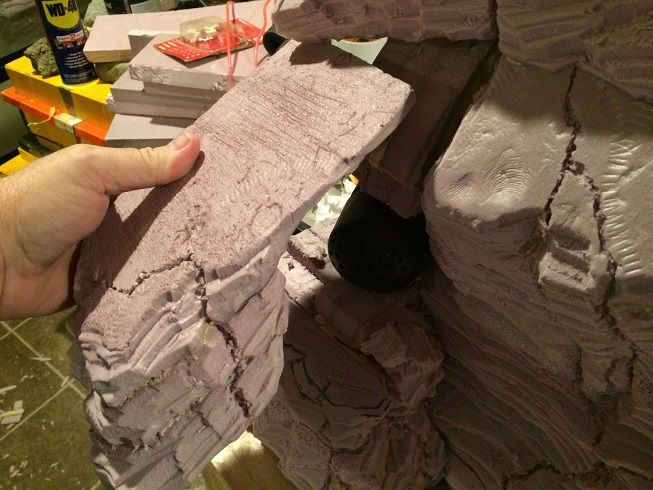
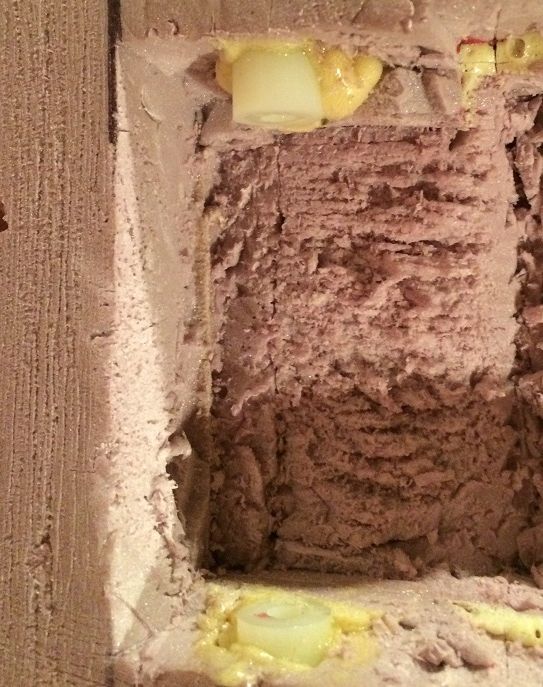
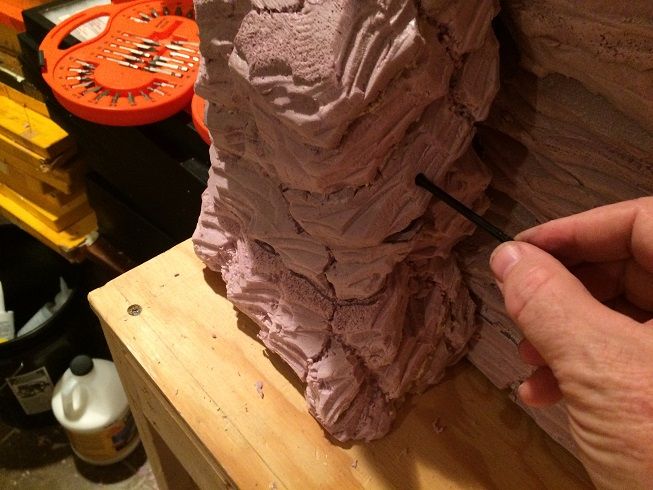
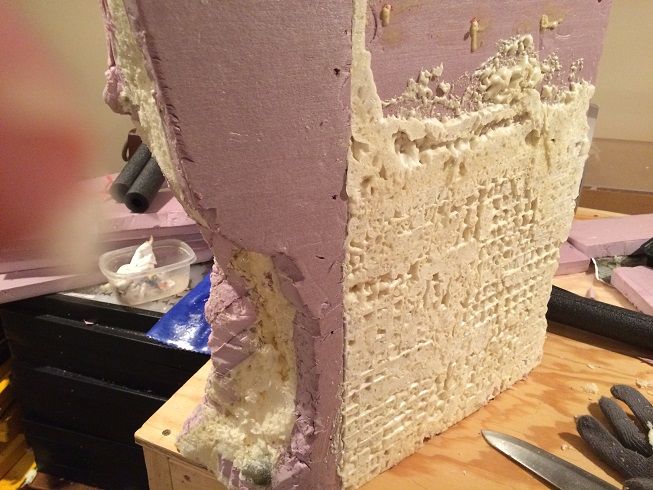
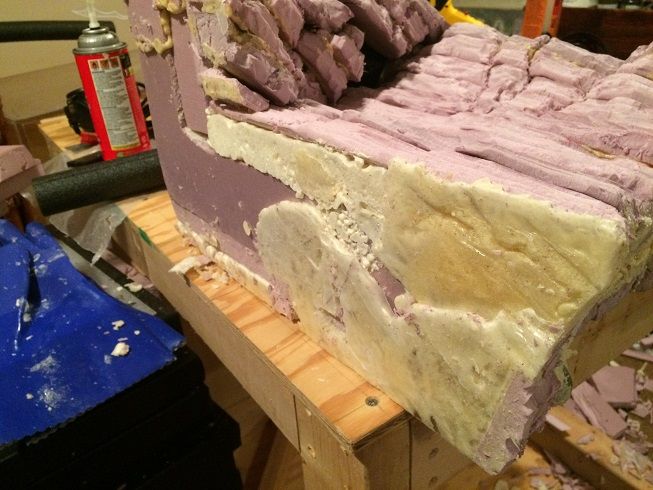
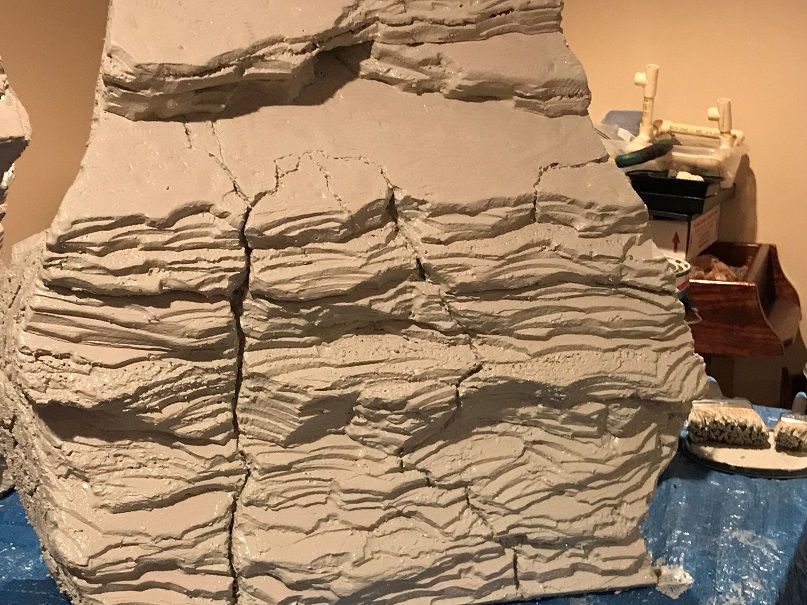
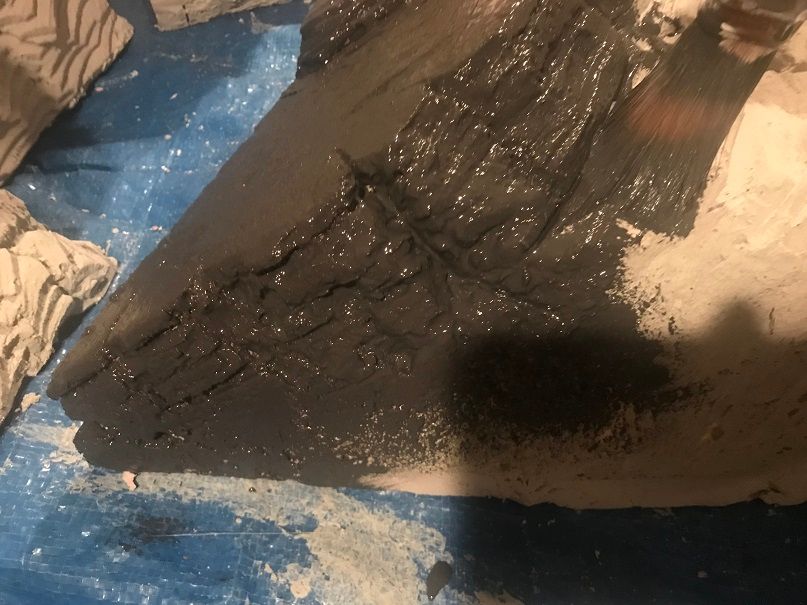
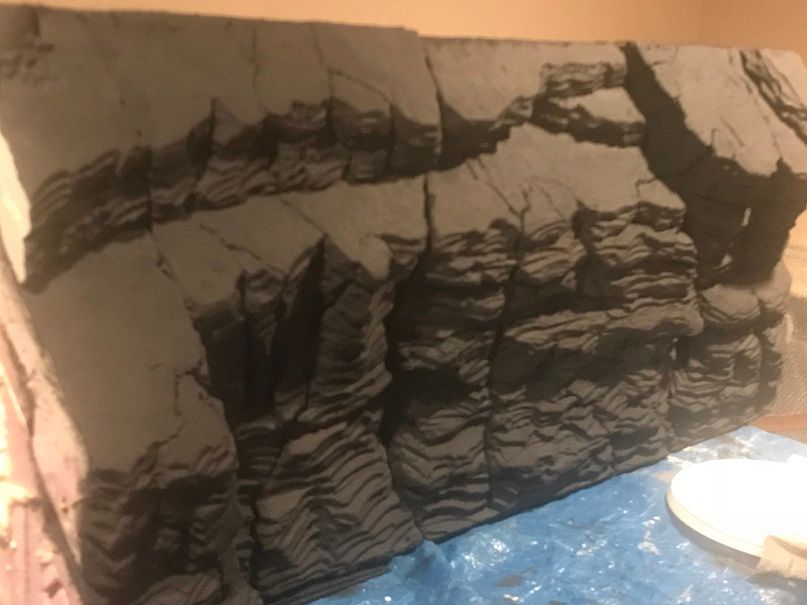
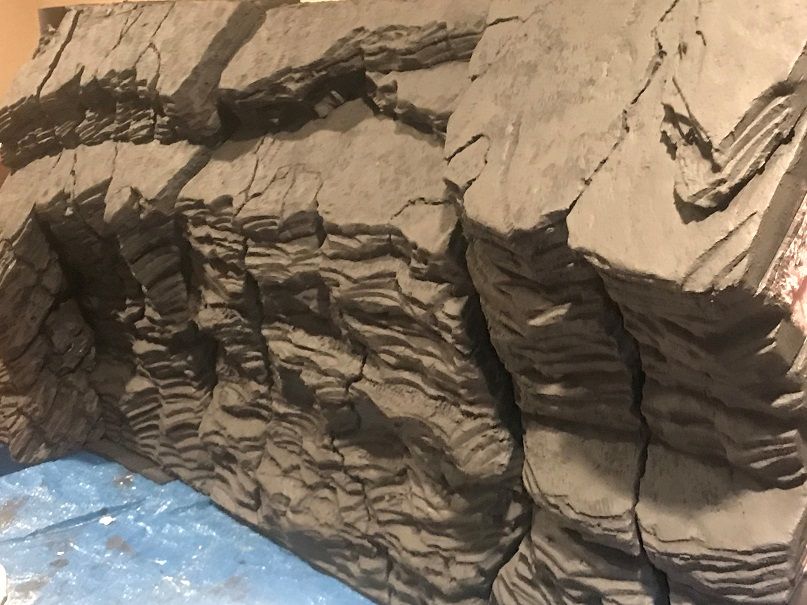
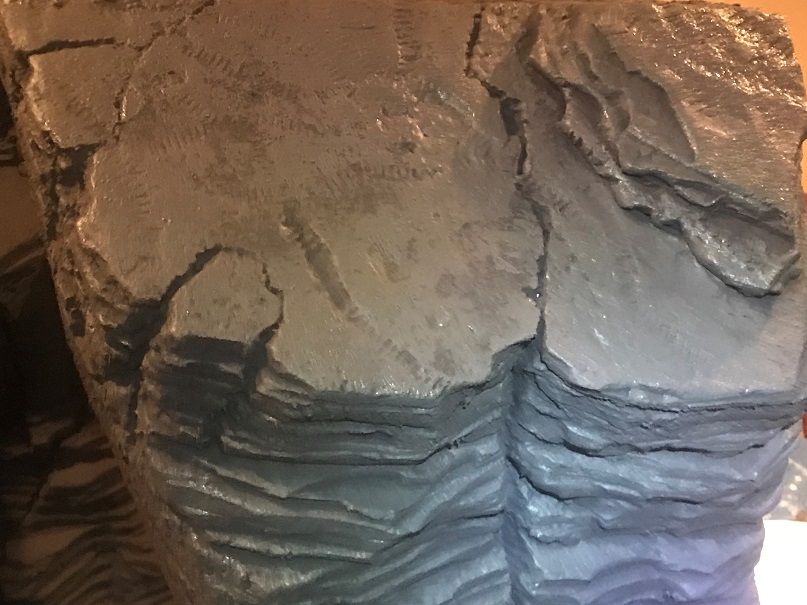
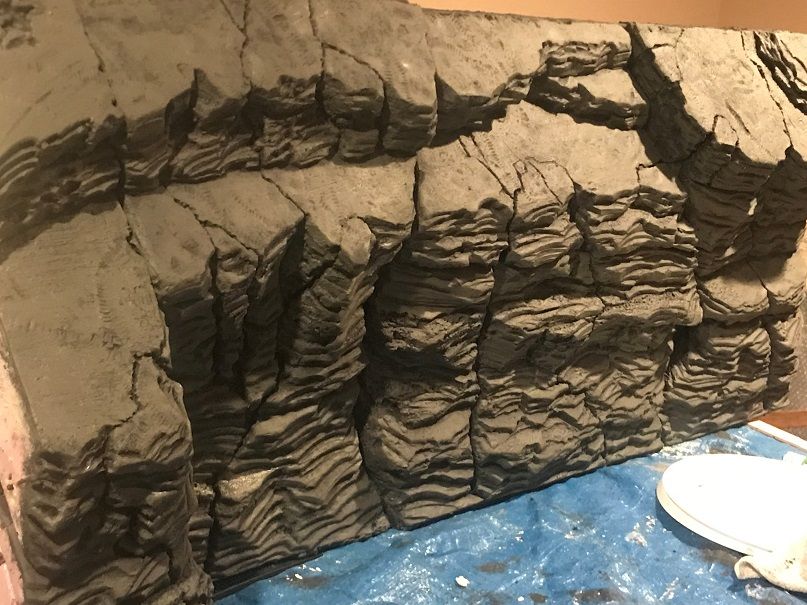
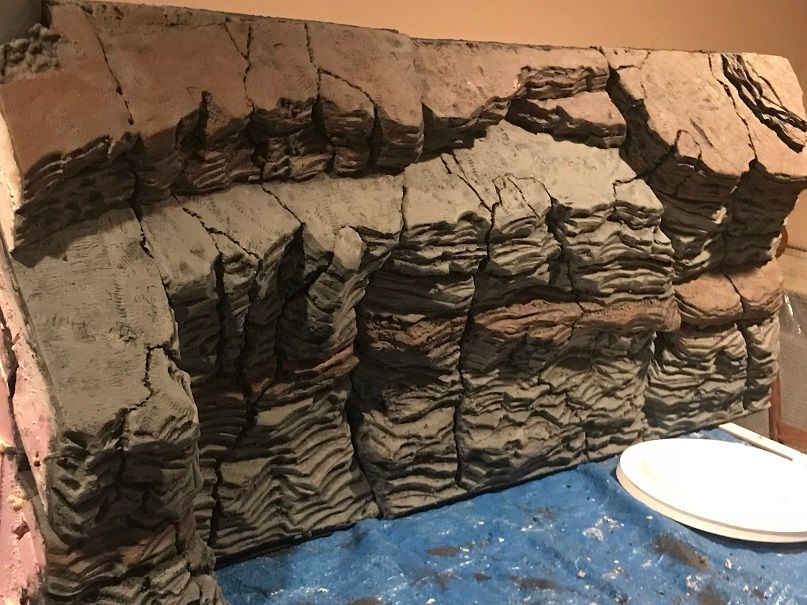
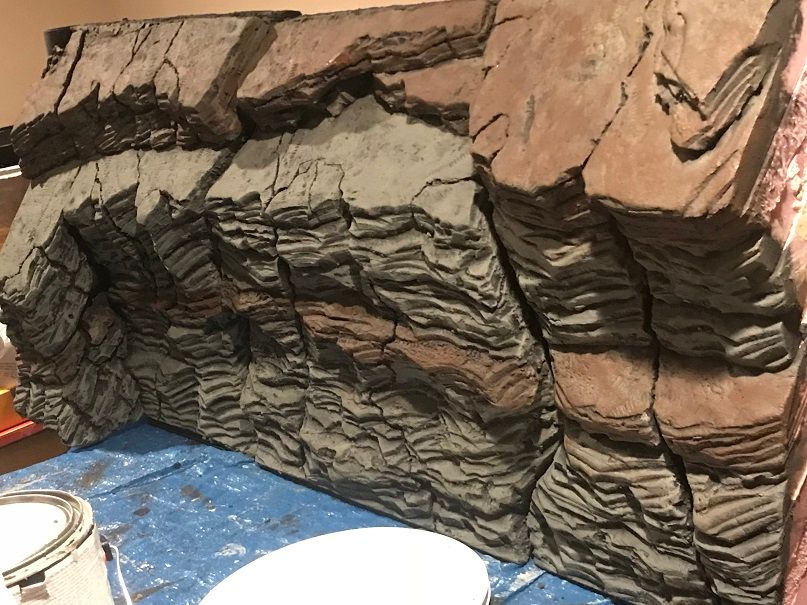
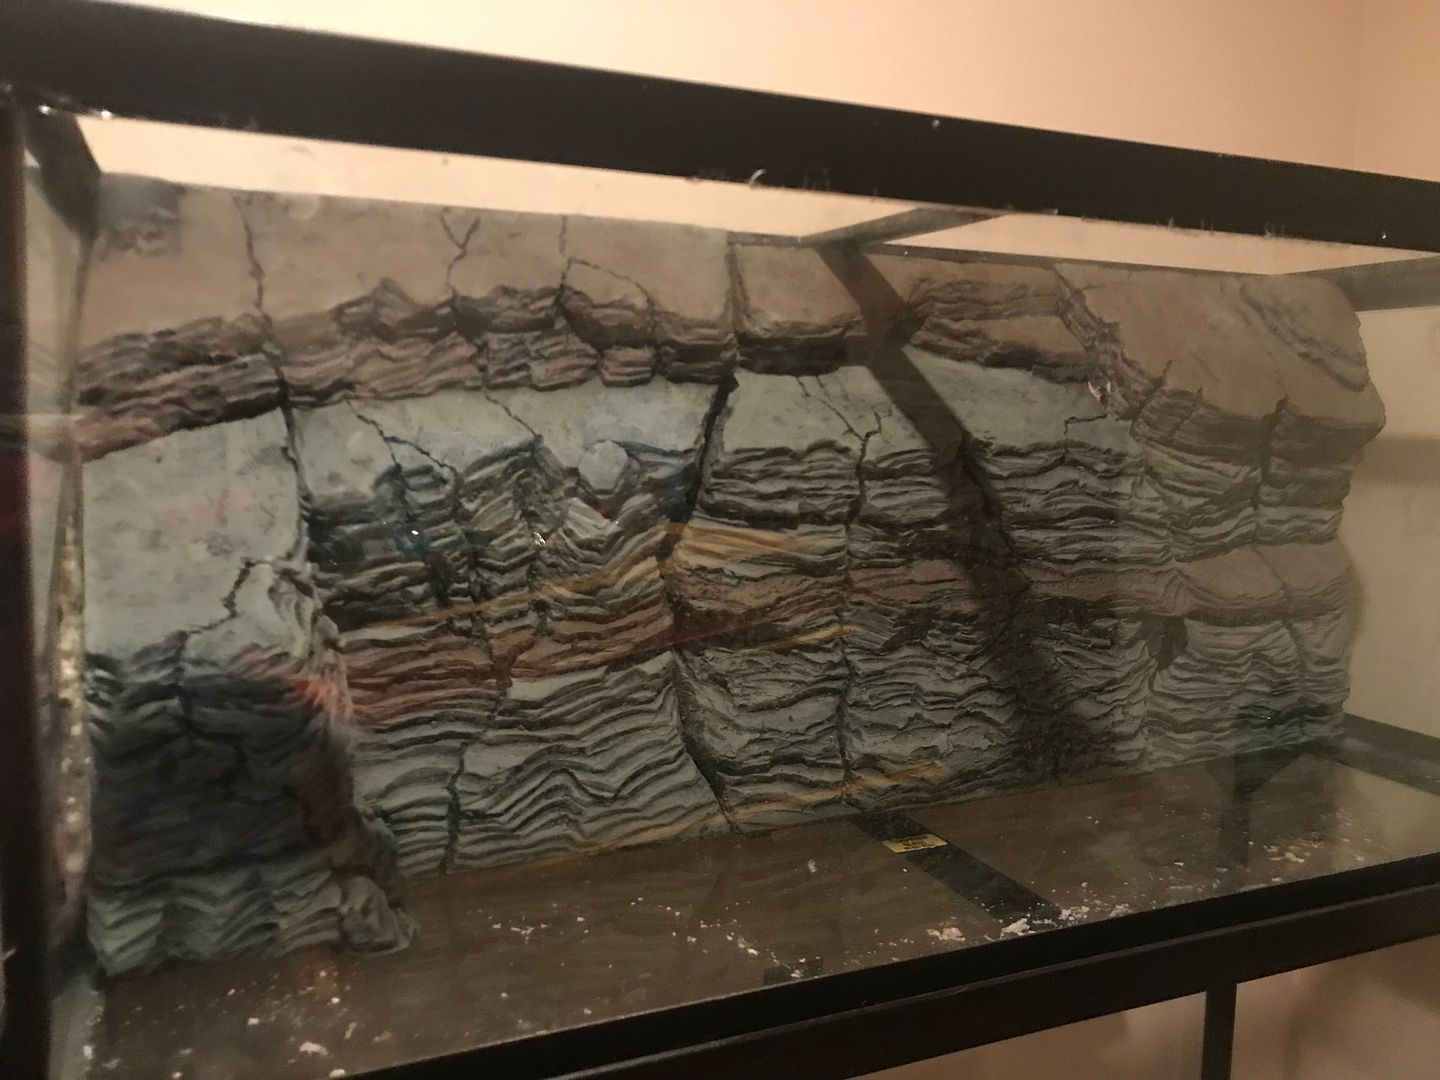
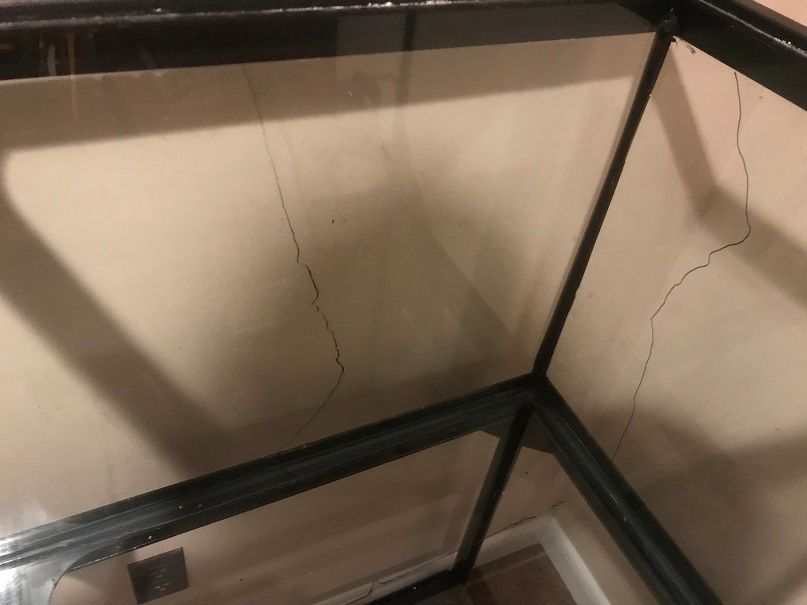
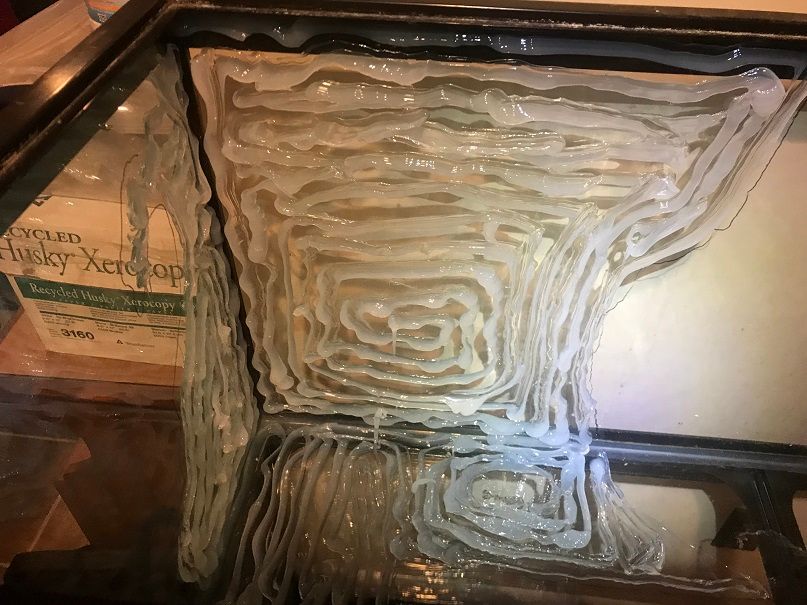
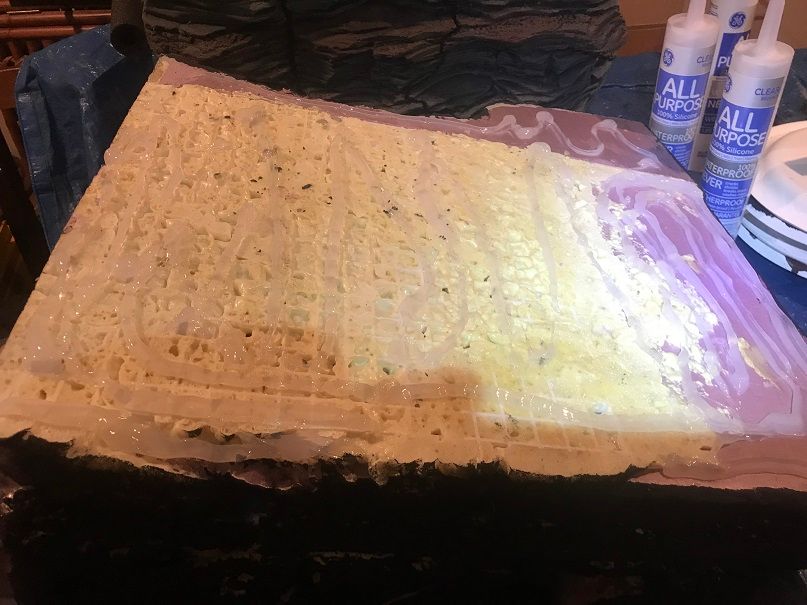
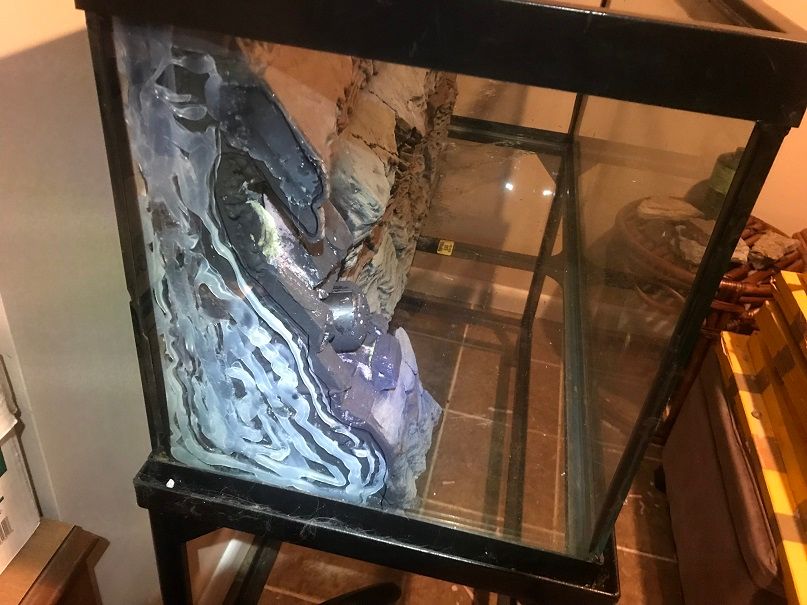
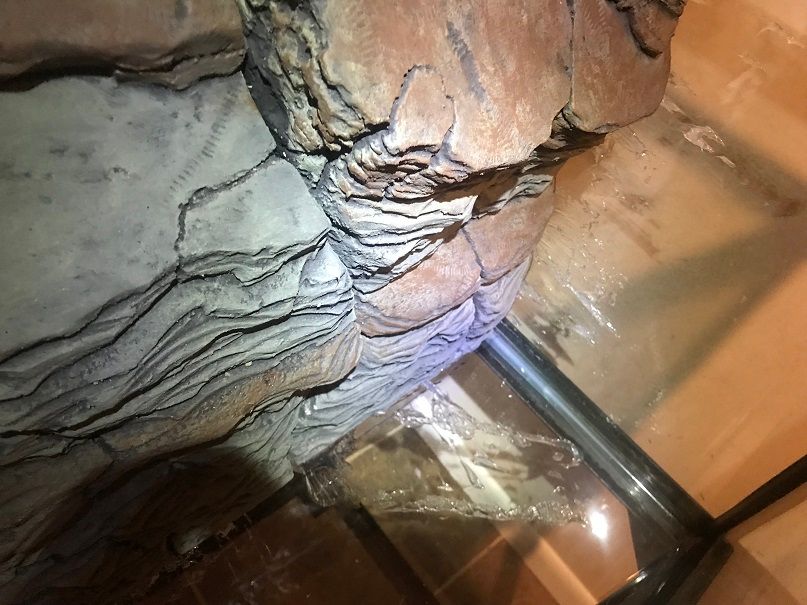
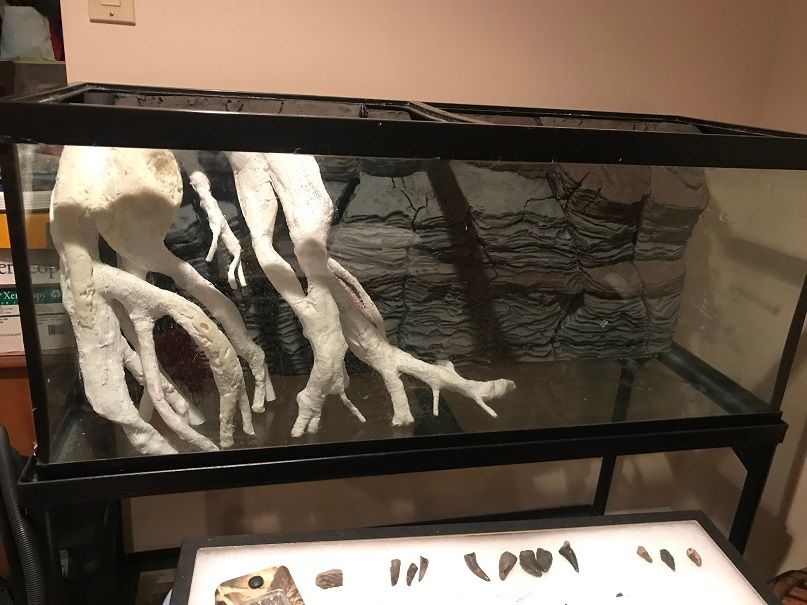
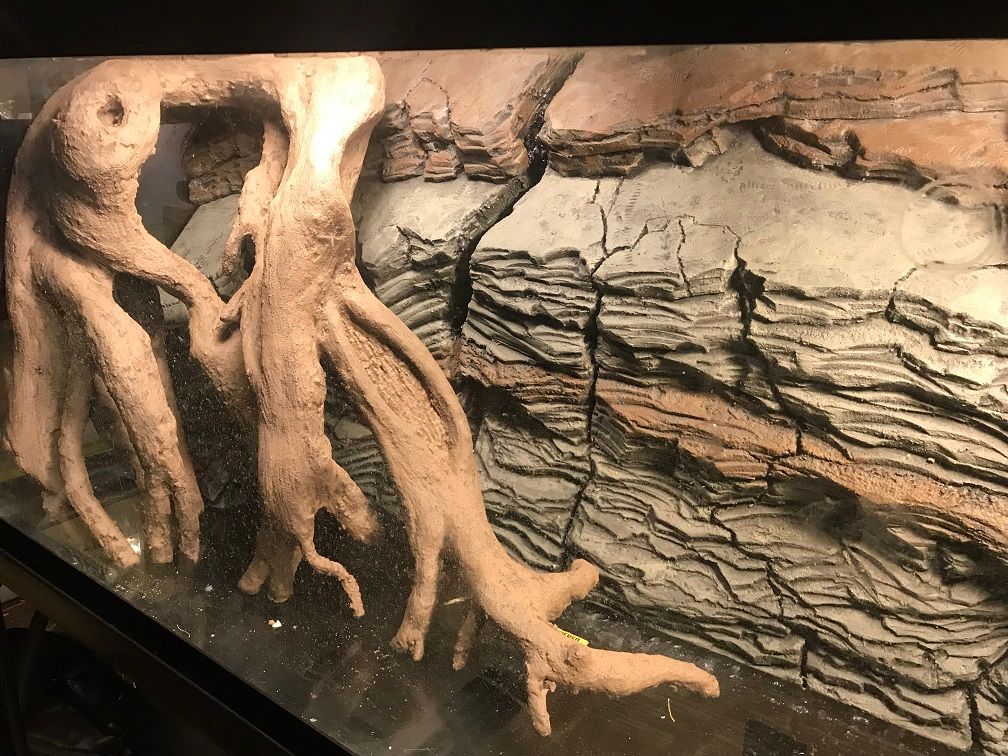
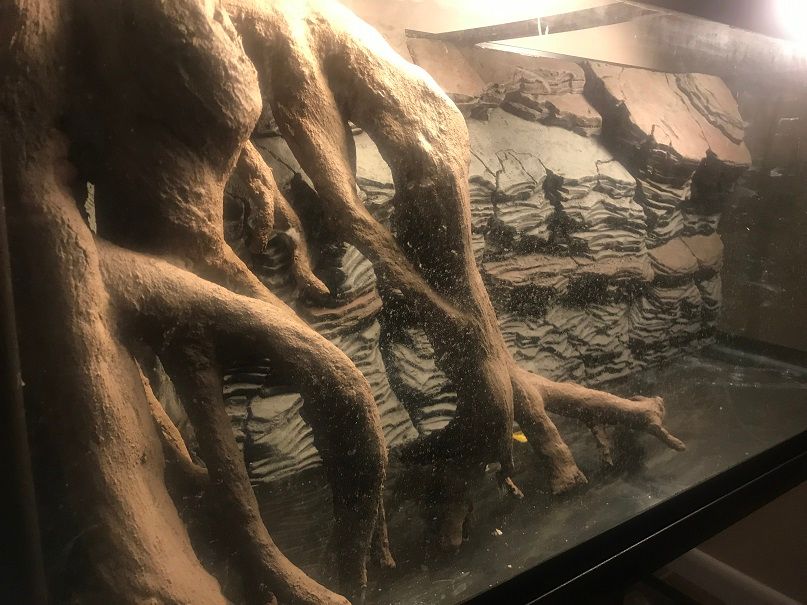
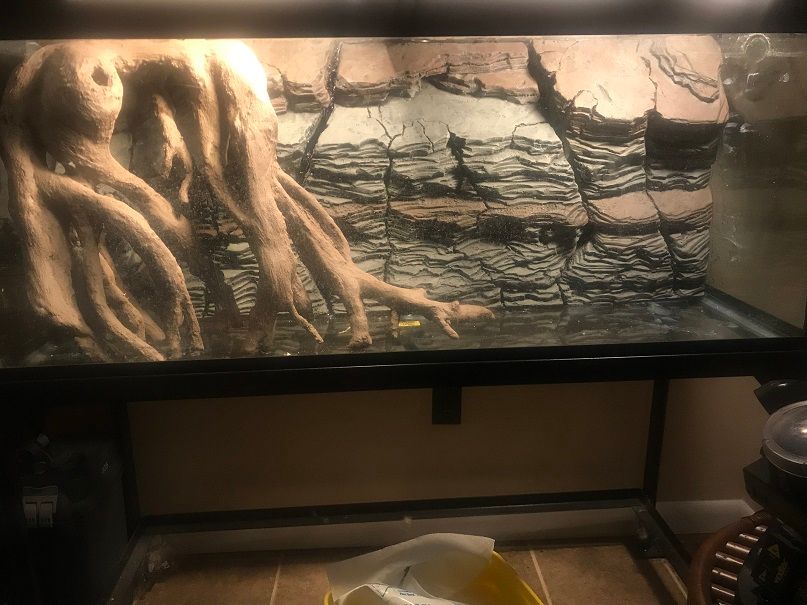
I created a faux rock wall using foam boards by cutting the board into to be rock layers, and carved each board separately, and then glued them into place, until I finally had my overall structure. Each foam board was glued into place using Gorilla Glue and secured to the boards underneath using plastic popsicle sticks. After that, I painted the rock wall with Drylok mixed with cement dye. I didn't want to just stack the foam horizontally to get the fireplace look, rather, I wanted the rock layers at an unusual angle, something different. The overall structure is made up of three sections. Each of the sections had gaps behind the foam board, so I fill the gaps with river rock and used spray foam to hold everything into place. Once the structure was completed, I used a ton of silicone to install the three sections, each of which fit tightly to the back wall and aquarium frame. As you all may know, foam floats and can tear away, so the extra silicone may seem like overkill, but, I wanted this to stay in the tank permanently. Once installed, I covered the wall with Polygem 1319 clear coat to protect the foam and make it easier to clean without ruining the finish.
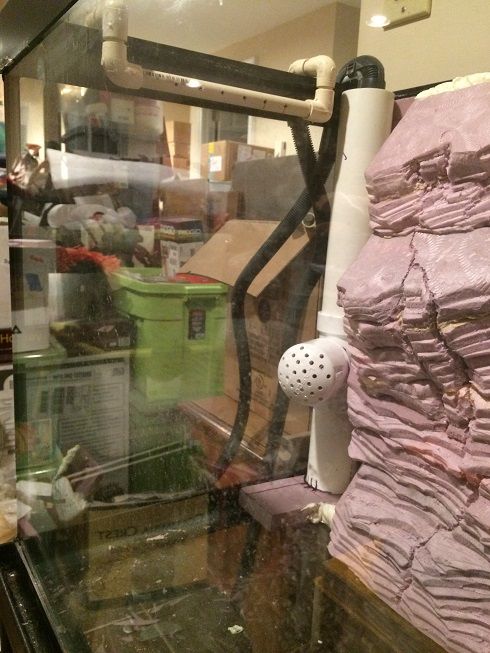
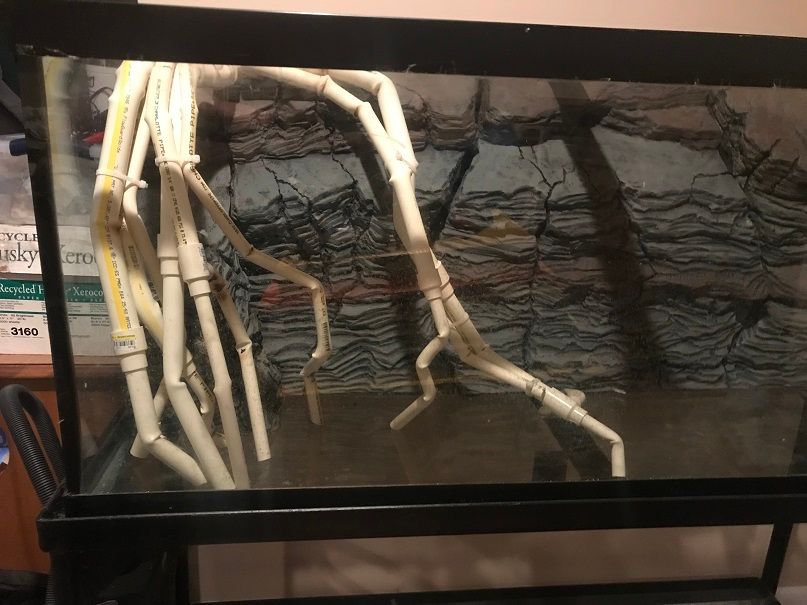
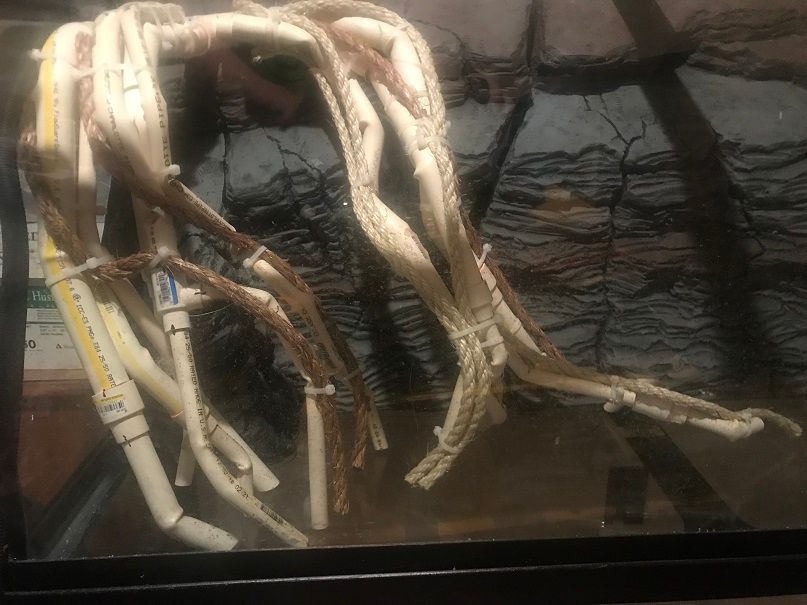
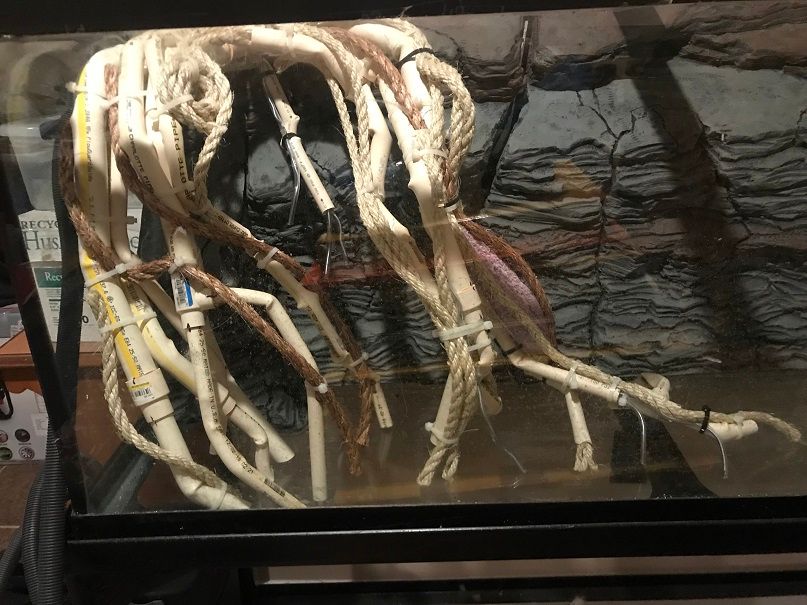
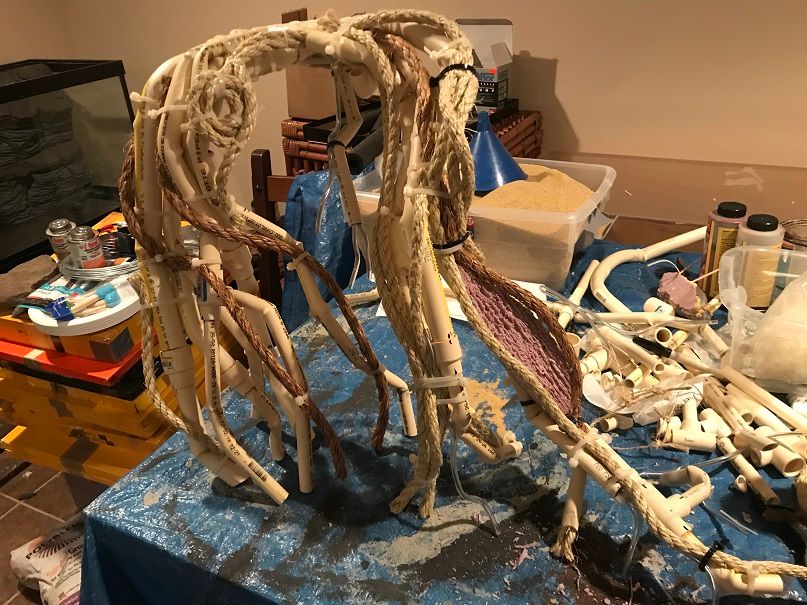
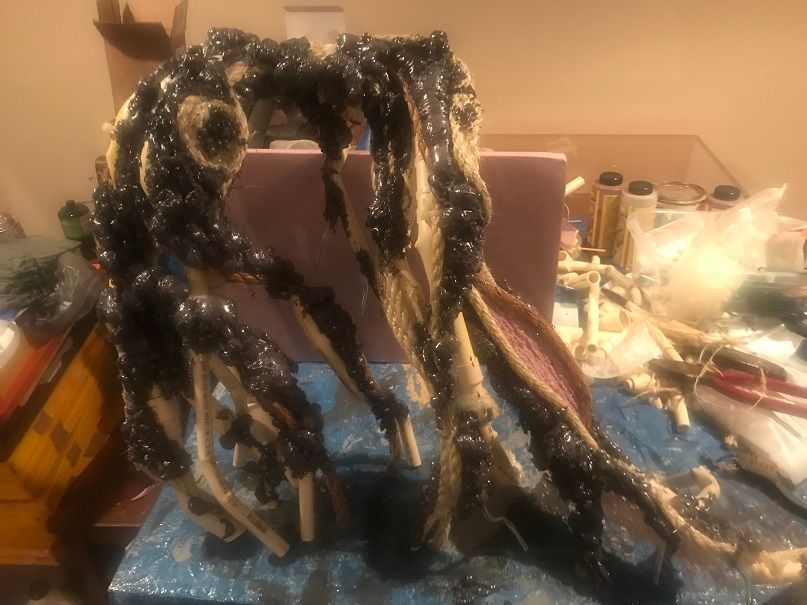
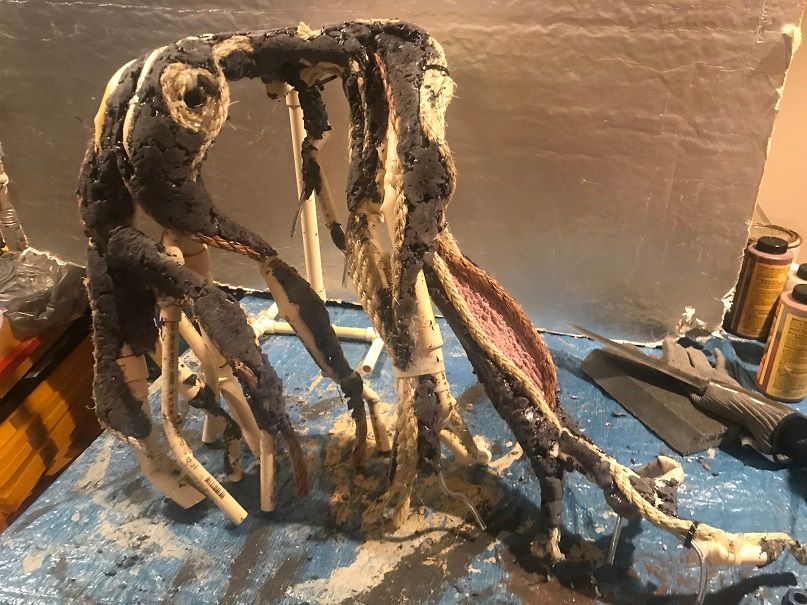
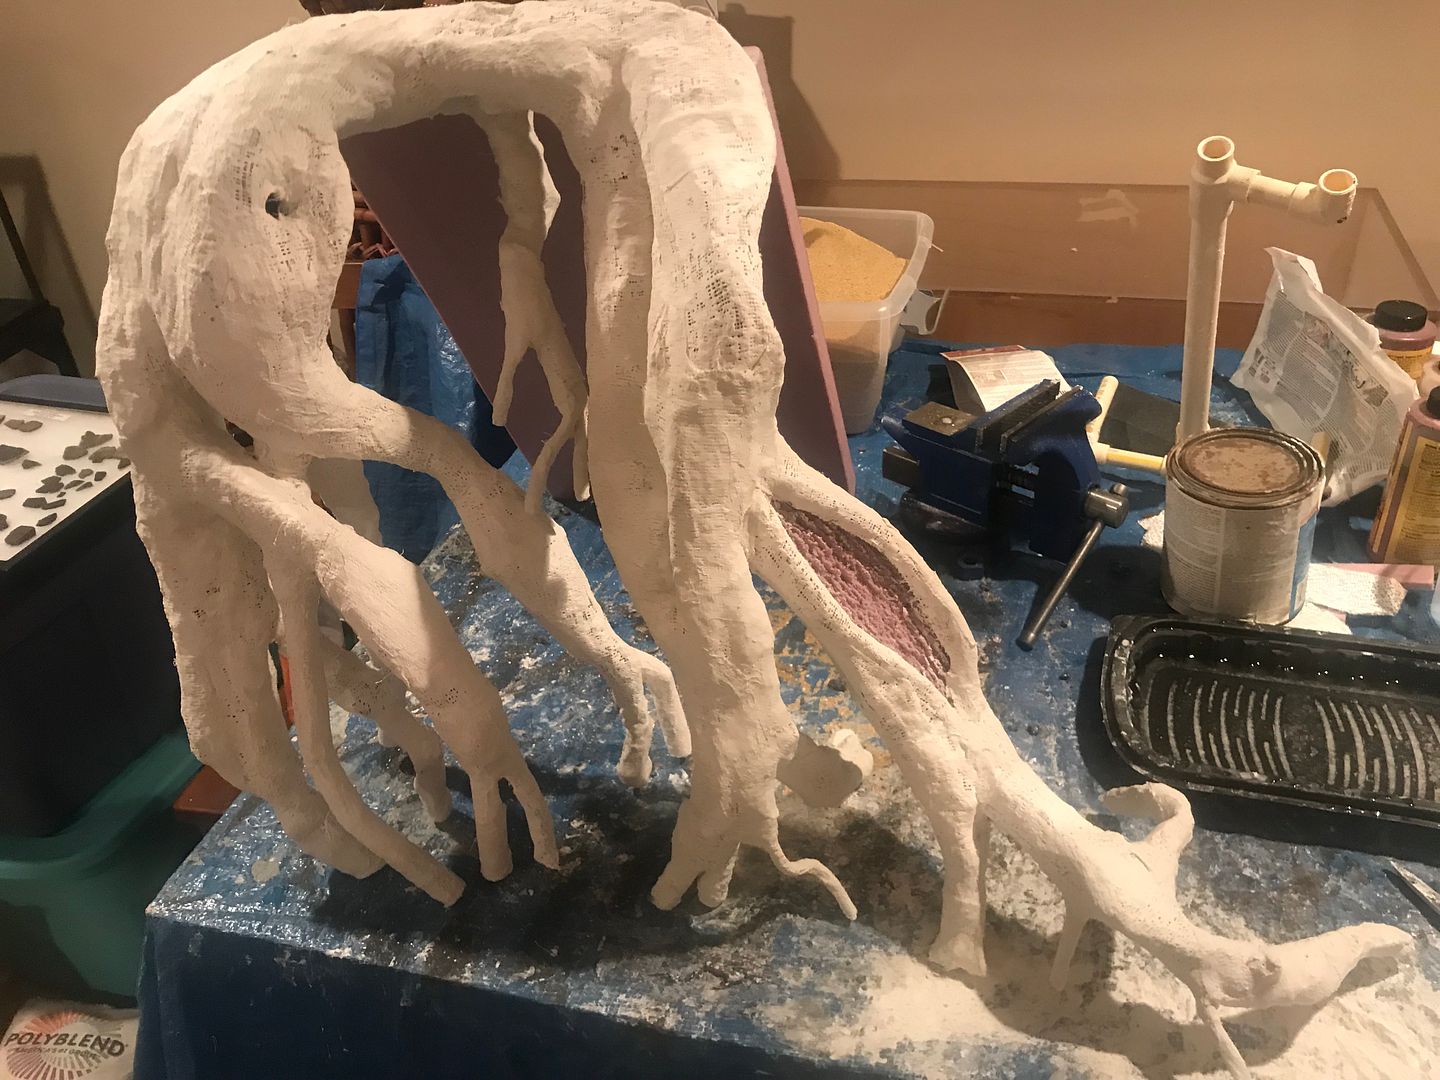
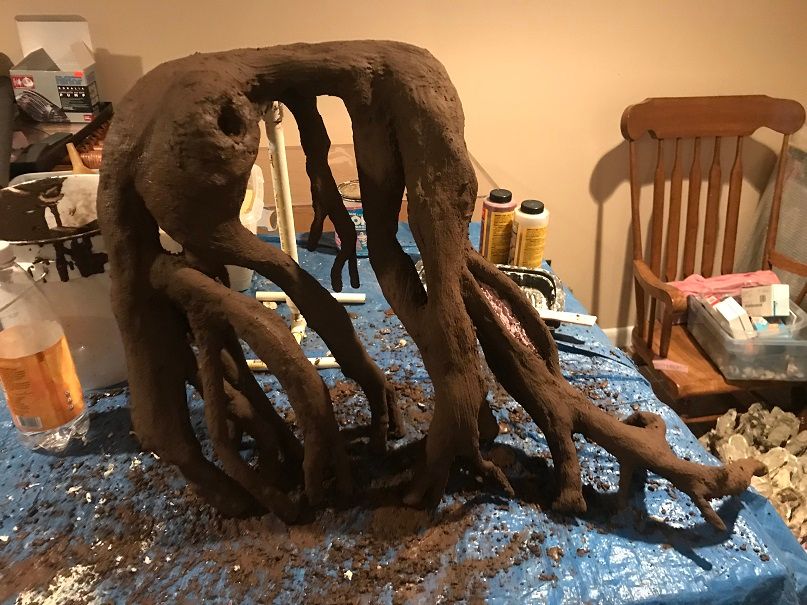
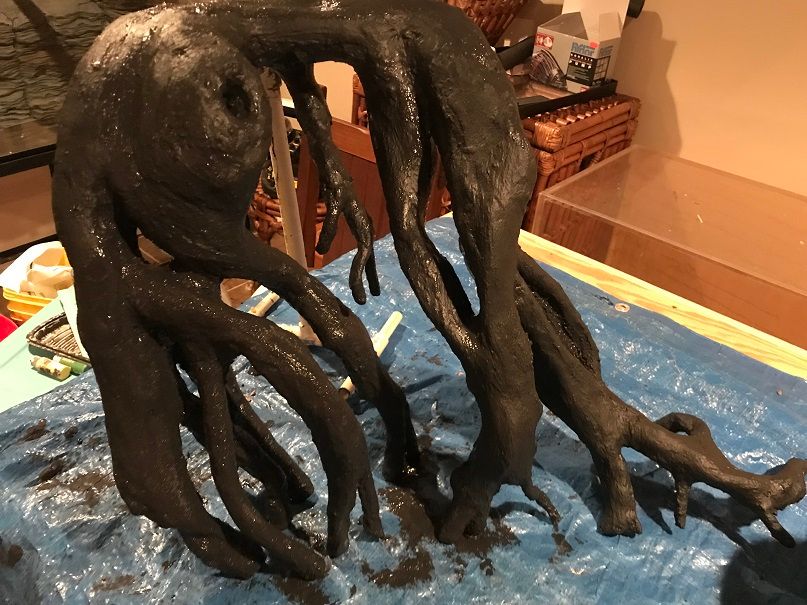
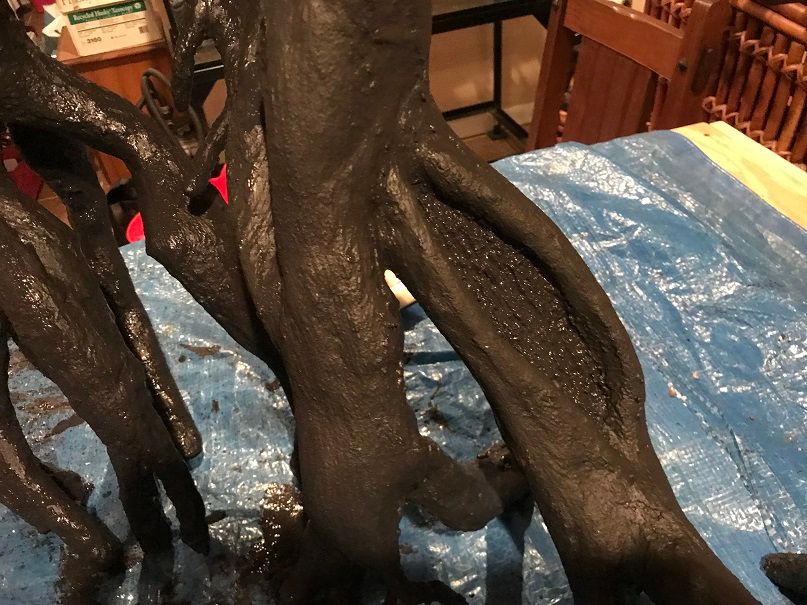
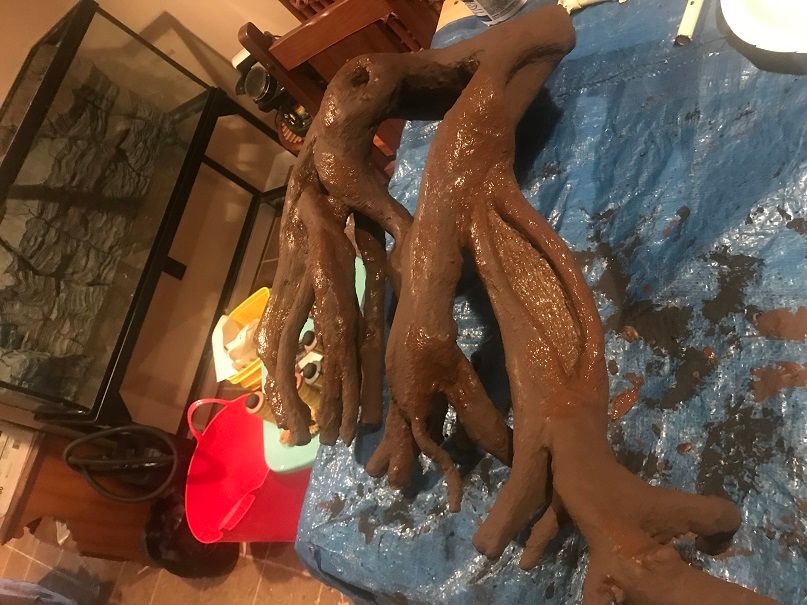
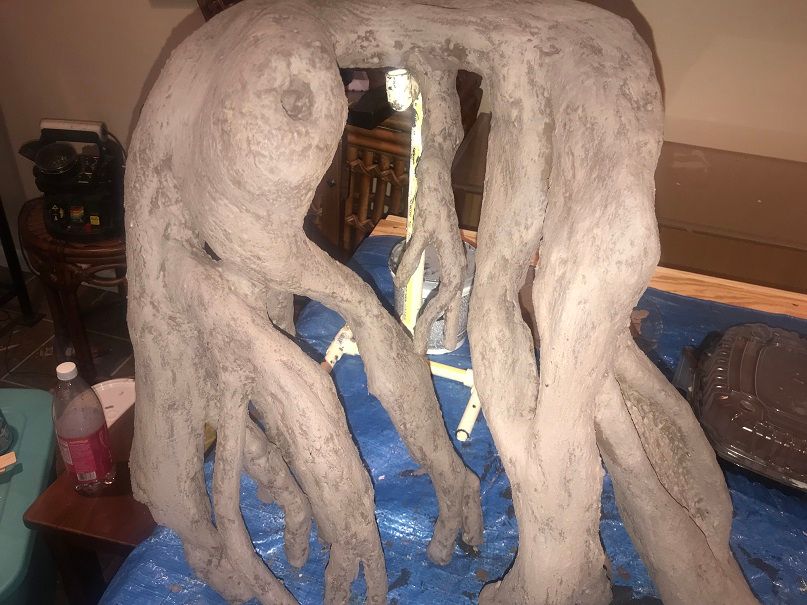
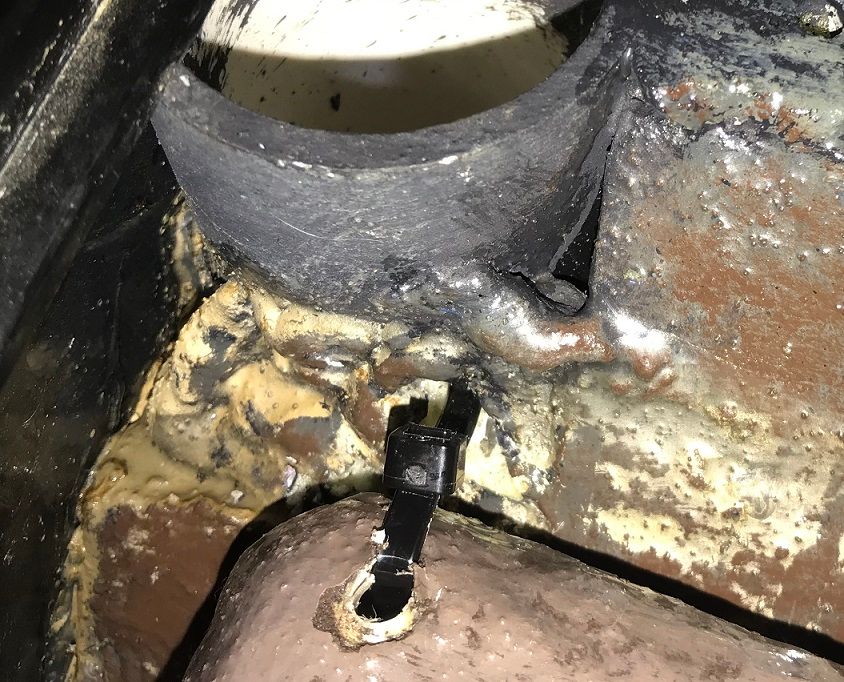
I also created faux roots, using PVC and CPVC pipe, zip ties, plaster wrap for bulk, spray foam, a small piece of foam board, grout and acrylic additive, painted with Drylok mixed with cement dye, and sealed with Polygem 1319 clear coat to seal everything in. Again, the purpose of the roots, other than decor, is to hide equipment as much as possible.
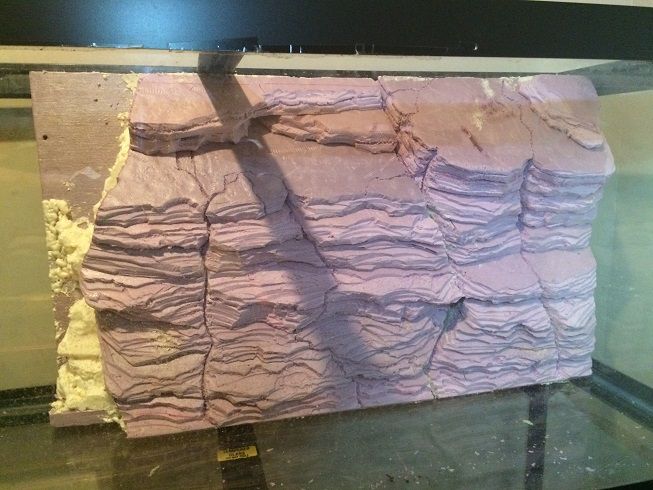
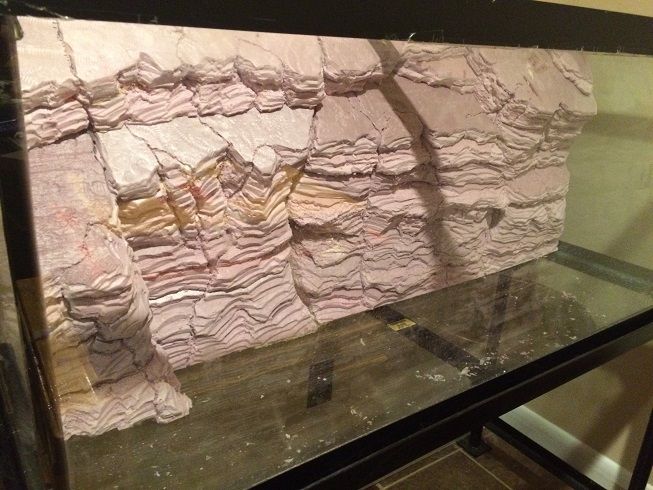
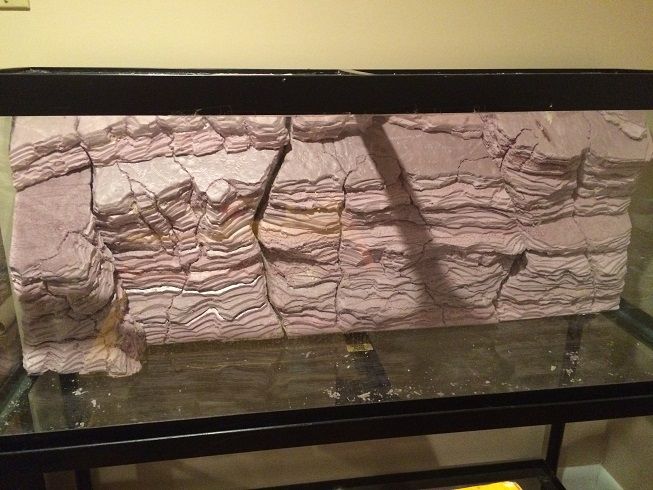
Here is the tank after installing the foam wall and prior to applying the clear coat, and prior to filling.
![Image]()
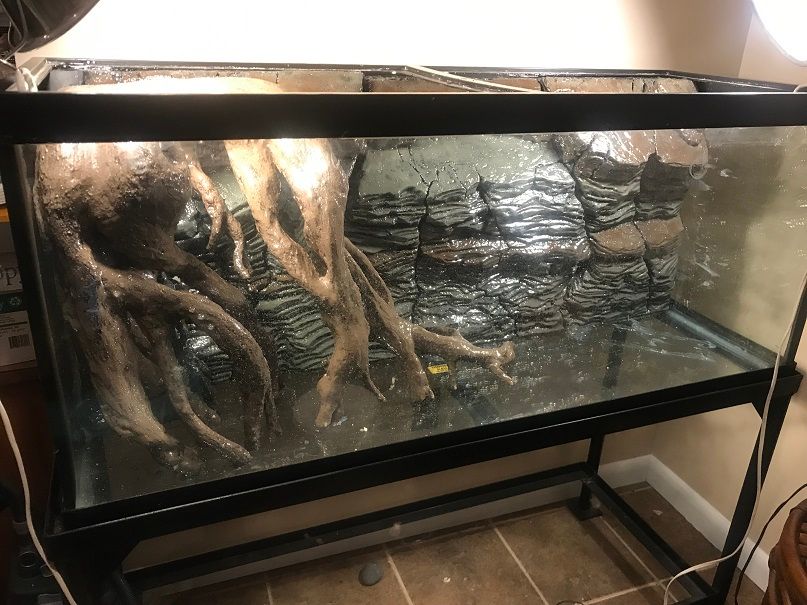
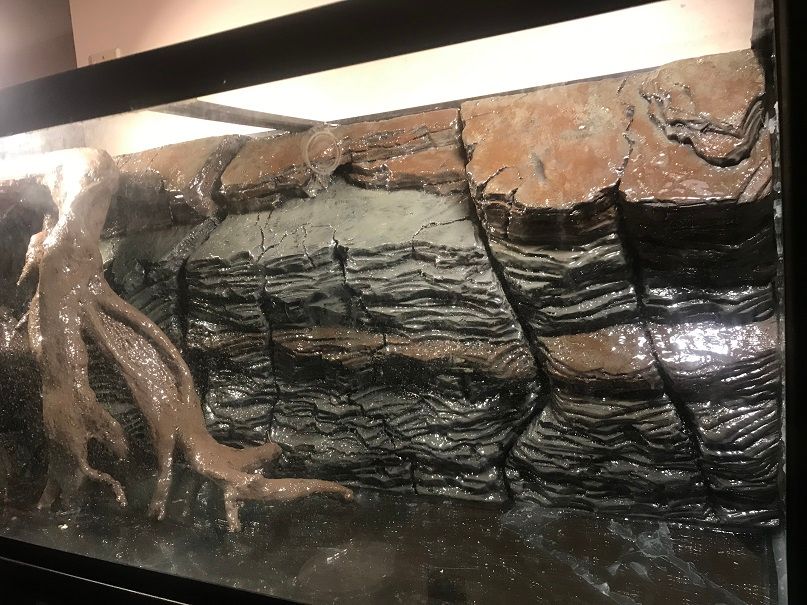
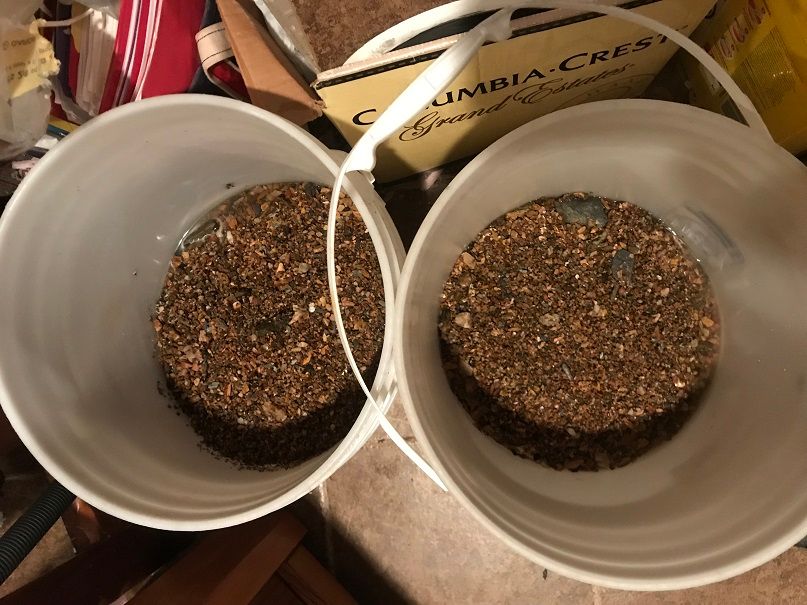
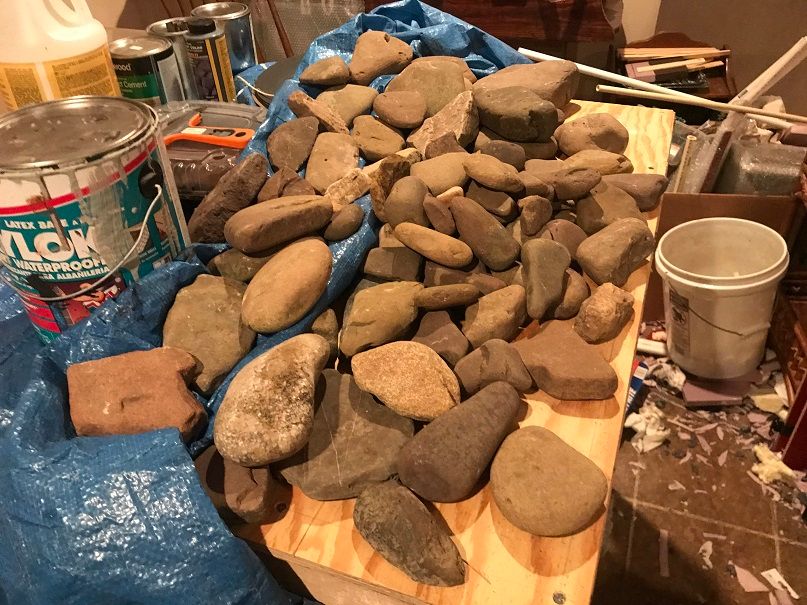
Where I am today with the build, 3 years in the making: I collected rocks and gravel from local rivers and streams, washed and sifted them, and scaped the tank, then filled the tank with water. This was really a test to see of the rock wall would hold underwater, and if the roots would float or not. After three days, the rock wall is holding up fine so far. I'm going to leave it alone until this weekend. The roots, however, floated just enough that they would block my DIY spray bar flow. So, I'll have to drain the tank half way this weekend, and secure the roots to the structure. I want them removable for tank maintenance and cleaning. By securing them, I can't just lift them out, but, I've figured out a way to secure them temporarily, and easily secured again. More on that later.
I hope you enjoy the tank build thread. Future posts will detail the steps that I took to get here.
Concept: This tank represents a simulated river undercut bank using faux roots against a faux DIY rock wall made of styrofoam hobby boards, spray foam, and other inert supplies. The fish and plants will be native U.S. species local to where I live, and will consist of smaller fish, not larger predatory fish. I'll discuss my plan for stocking later. The main plant species will be water stargrass (Heteranthera dubia). The purpose of the faux roots is to hide the large powerhead that will drive most of the tank current, that flows at the front of the tank from left to right, and forms and eddy. The rock wall is for decor, but also to hide my canister filter intake. The canister filter spray bar will also be a the right side of the tank, shooting water over the top of the roots to better simulate (sort of) unidirectional flow.
I've kept native fish before, and loved that tank. But, this is one of my dream tanks, to go all out and make it a nice feature in my home, not just a tank.
Tank, Stand and Equipment: I was given a 75g tank from a family member a few years ago, and bought a cheap iron stand off of Craigslist. He also gave me a Fluval 405 canister filter. Another buddy of mine welded additional support and feet to the stand. I purchased a Hydor Koralia 3G circulation and wave pump to generate current the tank to simulate stream flow. I recently purchased a Fluval Plant 3.0 full spectrum light.
Decor:
I created a faux rock wall using foam boards by cutting the board into to be rock layers, and carved each board separately, and then glued them into place, until I finally had my overall structure. Each foam board was glued into place using Gorilla Glue and secured to the boards underneath using plastic popsicle sticks. After that, I painted the rock wall with Drylok mixed with cement dye. I didn't want to just stack the foam horizontally to get the fireplace look, rather, I wanted the rock layers at an unusual angle, something different. The overall structure is made up of three sections. Each of the sections had gaps behind the foam board, so I fill the gaps with river rock and used spray foam to hold everything into place. Once the structure was completed, I used a ton of silicone to install the three sections, each of which fit tightly to the back wall and aquarium frame. As you all may know, foam floats and can tear away, so the extra silicone may seem like overkill, but, I wanted this to stay in the tank permanently. Once installed, I covered the wall with Polygem 1319 clear coat to protect the foam and make it easier to clean without ruining the finish.
I also created faux roots, using PVC and CPVC pipe, zip ties, plaster wrap for bulk, spray foam, a small piece of foam board, grout and acrylic additive, painted with Drylok mixed with cement dye, and sealed with Polygem 1319 clear coat to seal everything in. Again, the purpose of the roots, other than decor, is to hide equipment as much as possible.
Here is the tank after installing the foam wall and prior to applying the clear coat, and prior to filling.
Where I am today with the build, 3 years in the making: I collected rocks and gravel from local rivers and streams, washed and sifted them, and scaped the tank, then filled the tank with water. This was really a test to see of the rock wall would hold underwater, and if the roots would float or not. After three days, the rock wall is holding up fine so far. I'm going to leave it alone until this weekend. The roots, however, floated just enough that they would block my DIY spray bar flow. So, I'll have to drain the tank half way this weekend, and secure the roots to the structure. I want them removable for tank maintenance and cleaning. By securing them, I can't just lift them out, but, I've figured out a way to secure them temporarily, and easily secured again. More on that later.
I hope you enjoy the tank build thread. Future posts will detail the steps that I took to get here.


